There’s something magical about the moment when chocolate and peanut butter collide. I discovered this divine combination at my grandmother’s kitchen counter when I was barely tall enough to reach the mixing bowl. She’d let me dip my finger into the peanut butter before we folded it into the rich, melted chocolate. That magical first taste—the sweet and salty dance has stayed with me through decades of professional cooking.
Have you ever wondered why this flavor pairing has such universal appeal? The contrast between smooth, bitter chocolate and nutty, salty peanut butter creates what food scientists call “flavor dynamism”—a perfect counterbalance that keeps your tastebuds engaged and craving more.
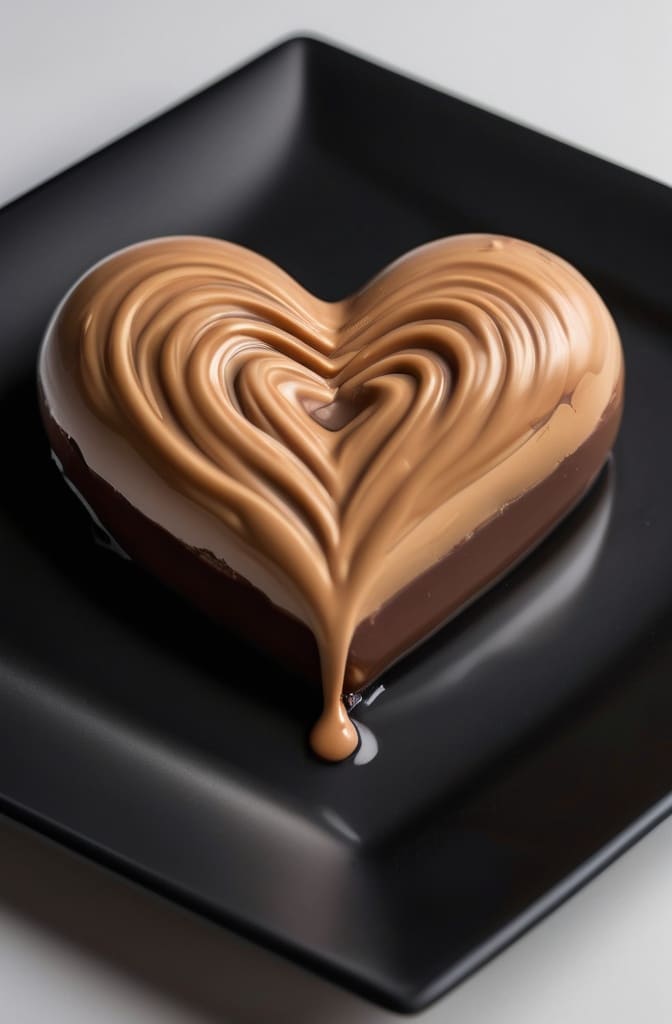
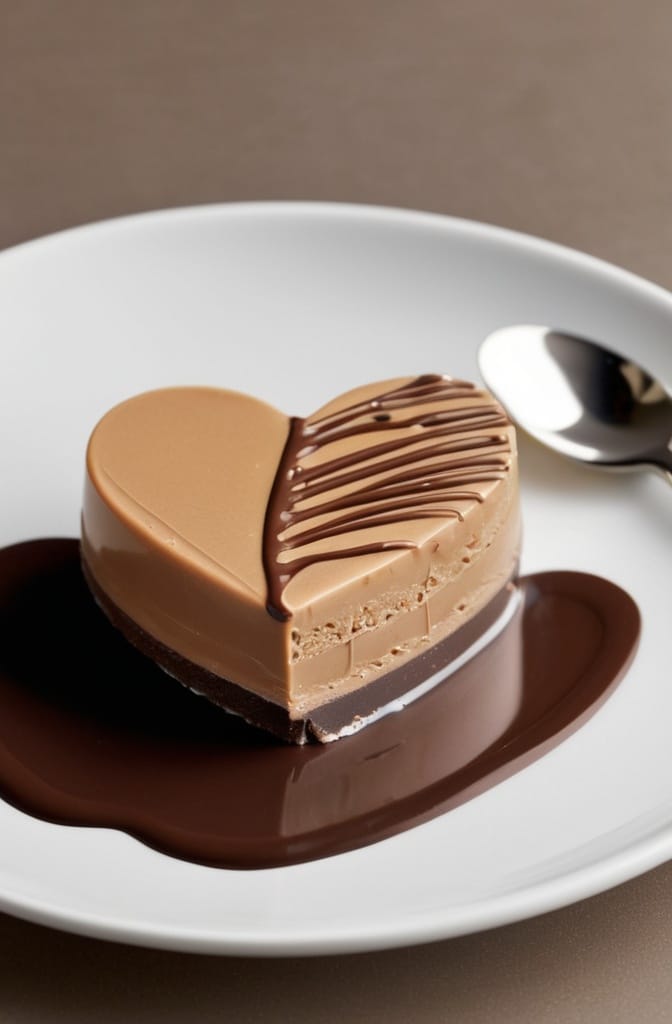
Peanut Butter Chocolate Hearts aren’t just another dessert recipe; they’re an elevated confection that balances sophisticated technique with nostalgic flavors. These two-toned treats feature a crisp chocolate shell housing a creamy peanut butter center, all shaped into perfect heart forms that make them ideal for special occasions or an indulgent everyday treat. The beauty lies in thier simplicity—just a handful of quality ingredients transformed through proper tempering and layering techniques.
Ingredients & Substitutions
For the Chocolate Shell:
- 12 ounces high-quality dark chocolate (60-70% cacao), finely chopped
- 2 tablespoons coconut oil (or cocoa butter)
- 1/4 teaspoon fine sea salt
- 1 teaspoon pure vanilla extract
For the Peanut Butter Filling:
- 1 cup smooth peanut butter (natural, unsweetened preferred)
- 3/4 cup powdered sugar, sifted
- 2 tablespoons unsalted butter, softened
- 1/2 teaspoon fine sea salt
- 1 teaspoon vanilla extract
- 2 tablespoons heavy cream
For Decoration (Optional):
- 2 ounces white chocolate
- Gold luster dust or edible gold leaf
- Crushed roasted peanuts
When selecting chocolate, couverture varieties containing higher cocoa butter content will yeild the most professional-looking finish. Bean-to-bar chocolates offer more complex flavor profiles than commercial brands, with notes ranging from fruity to nutty depending on their origin. If dark chocolate isn’t your preference, milk chocolate works beautifully—just reduce the powdered sugar in the filling to compensate for the additional sweetness.
For those with peanut allergies, almond or cashew butter make excellent substitutes. Sun butter (made from sunflower seeds) provides a nut-free alternative, though you’ll want to increase the salt slightly to replicate peanut butter’s characteristic savoriness. The coconut oil helps acheive the perfect snap in the chocolate shell, but cocoa butter delivers a more authentic chocolate-shop quality if you can source it.
Equipment Needed
- Heart-shaped silicone candy molds (1-2 inch cavities work best)
- Digital candy thermometer
- Small offset spatula
- Piping bags or zip-top bags
- Double boiler or heatproof bowl and saucepan
- Rubber spatulas
- Small artist’s brush (unused, food-safe)
Step-by-Step Instructions

Tempering the Chocolate
- Place ⅔ of your chopped chocolate in a heatproof bowl over a pot of barely simmering water (double-boiler method), ensuring the bowl doesn’t touch the water. The gentle, indirect heat prevents scorching which can make your chocolate grainy and bitter.
- Stir occasionally until chocolate reaches 115°F (46°C) for dark chocolate or 110°F (43°C) for milk chocolate, then immediately remove from heat. Maintaining proper temperature control is essential—exceeding these temperatures will destroy the cocoa butter’s crystalline structure.
- Add the remaining ⅓ of chopped chocolate (seed chocolate) and stir continuously until temperature drops to 82°F (28°C), then gently rewarm to 88-90°F (31-32°C) for dark chocolate or 86-88°F (30-31°C) for milk chocolate. Stir in the coconut oil, salt and vanilla until fully incorporated—this process, called “seeding,” ensures your chocolate will have that coveted glossy finish and perfect snap when you bite into it.
The tempering process might seem fussy to beginners, but it’s what seprates homemade chocolates from professional confections. If your chocolate looks dull or has white streaks after setting, it wasn’t properly tempered. For a shortcut, you can use compound chocolate or melting wafers which contain vegetable fats that don’t require tempering, though the flavor won’t be as complex.
Creating the Chocolate Shells

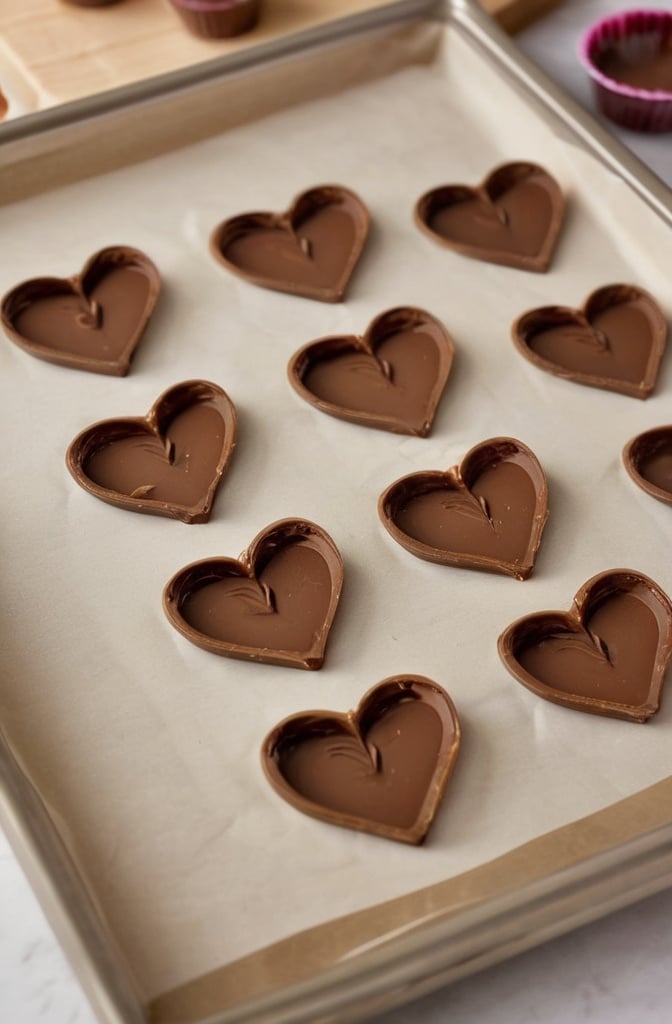
- Using your small brush or the back of a spoon, coat each heart cavity with a layer of tempered chocolate, ensuring complete coverage up the sides. Tap the mold gently against the counter to remove air bubbles—those tiny pockets can weaken your shell and create unattractive blemishes.
- Turn the mold upside down over parchment paper to drain excess chocolate, then scrape the top edge clean with an offset spatula. Place in refrigerator for 5 minutes until set (not longer, or condensation may form).
- Apply a second coat of chocolate using the same technique for a sturdier shell that won’t crack when filled. This double-coating technique is used by professional chocolatiers to ensure proper thickness.
Let the shells set completely before filling—about 10-15 minutes at room temperature. You’ll know they’re ready when the chocolate appears uniformly matte and pulls away slightly from the mold edges.
Preparing the Peanut Butter Filling
- In a stand mixer fitted with the paddle attachment (or using a hand mixer), cream together peanut butter and softened butter until smooth and fully combined. The fat emulsion creates a silkier mouthfeel than using peanut butter alone.
- Add the powdered sugar gradually, mixing on low speed to avoid a sugary explosion, then increase to medium-high once incorporated. The mixture should be thick but pipeable—similar to a stiff buttercream consistency.
- Add salt, vanilla, and heavy cream, beating until luscious and smooth—about 2 minutes. Taste and adjust seasonings; the filling should be slightly saltier than you think necessary, as the chocolate shell will balance it.
Transfer the filling to a piping bag fitted with a medium round tip (or snip the corner off a ziplock bag). The perfect filling has enough structure to hold its shape but remains creamy when bitten into—if too stiff, add another teaspoon of cream; if too soft, chill for 10 minutes.
Assembly
- Pipe the peanut butter filling into each chocolate shell, leaving about 1/8 inch space at the top. Take care not to overfill, as this will make sealing difficult and potentially crack your shells.
- Warm the remaining tempered chocolate to working temperature (88-90°F), then carefully spoon over each filled cavity, tapping gently to settle the chocolate and create a smooth base. Use an offset spatula to scrape away excess chocolate for a clean finish.
- Allow chocolates to set completely at cool room temperature (65-70°F) for at least 2 hours or overnight—this patience allows the crystal structure to fully develop. Resist the temptation to refrigerate, as cold temperatures can cause condensation when returned to room temperature, resulting in sugar bloom.
Once set, gently flex the silicone mold to release the hearts. If they don’t release easily, that’s often a sign of properly tempered chocolate! Try putting the mold in the freezer for 2-3 minutes (no longer), then flexing again—the slight contraction from cold helps release the chocolates.
Decorative Techniques

To elevate your chocolate hearts from homemade treats to gift-worthy confections, try these professional finishing touches:
- Drizzle white chocolate across the tops in a zigzag pattern using a paper cone or fork. For maximum visual impact, wait until the white chocolate is half-set, then sprinkle with crushed roasted peanuts or a pinch of flaky sea salt.
- Brush edible gold luster dust onto parts of the heart for a sophisticated metallic finish. The shimmer against dark chocolate creates stunning visual contrast—particularily effective if your planning these for Valentine’s Day or anniversary celebrations.
- Create marbled effects by adding a small amount of melted white chocolate to your molds before the dark chocolate. Use a toothpick to swirl gently, then proceed with the regular shell-making process.
For next-level presentation, place each heart in a petit four paper and arrange in a beautiful box lined with parchment. Professional chocolatiers often include a “map” indicating the flavor, especially if making assorted varieties.
The Science Behind Perfect Chocolate Hearts
The magic of these treats isn’t just in their taste but in their texture. Properly tempered chocolate has a specific crystalline structure that gives it that satisfying snap when bitten into, followed by a smooth melt on the tongue. This happens because cocoa butter can crystallize in six different forms, but only Form V (beta crystals) produces the desired characteristics.
Temperature control throughout the process is critical. If your kitchen is warmer than 72°F (22°C), consider working in the coolest part of your home or during cooler hours. The classic marble slab method used by pastry chefs helps maintain precise temperatures during tempering, but our seeding method is more accessible for home kitchens.
The addition of fat to the peanut butter filling serves two important functions: it improves mouthfeel and prevents the filling from becoming too firm when chilled. The emulsifiers in butter help bind the oils in peanut butter with the powdered sugar for a smoother texture.
Storage & Shelf Life
These chocolate peanut butter hearts will maintain peak quality for 2-3 weeks when stored in an airtight container at cool room temperature (65-70°F). Avoid refrigeration if possible, as the humidity can affect the chocolate’s appearance and texture.
If you live in a warm climate where room temperature exceeds 75°F, store in the refrigerator but place in an airtight container with a desiccant packet to absorb moisture. Always allow refrigerated chocolates to come to room temperature before serving—about 15-20 minutes—for the optimal flavor experience.
These treats can be made well in advance for special occasions. The chocolate acts as a natural preservative for the filling, though the peanut oils may eventually oxidize and develop off-flavors if kept too long.
Serving & Pairing Suggestions
Peanut butter chocolate hearts shine as standalone treats, but they can also elevate a dessert plate or after-dinner coffee service. Consider these professional serving suggestions:
Pair with a robust espresso or cappuccino—the bitter coffee notes complement both the sweet chocolate and savory peanut butter. For wine enthusiasts, a vintage port or Pedro Ximénez sherry creates a luscious pairing, with their concentrated sweetness and dried fruit notes.

Create a sophisticated dessert plate by placing a chocolate heart alongside a quenelle of vanilla bean ice cream and a thin tuile cookie. A light dusting of cocoa powder over the plate ties the elements together visually.
For cocktail pairings, bourbon-based drinks complement the nutty, caramel undertones in both the chocolate and peanut butter. A classic Old Fashioned or Manhattan makes an excellent choice.
Variations to Explore
Once you’ve mastered the basic technique, consider these creative variations:
Spiced Peanut Butter Hearts: Add 1/4 teaspoon cayenne pepper and 1/2 teaspoon cinnamon to the filling for a Mexican chocolate-inspired kick. The gentle heat builds slowly and beautifully complements the sweetness.
Crunchy Center Hearts: Fold 1/3 cup crushed feuilletine wafers or crushed pretzels into the filling for textural contrast. This surprise crunch transforms the eating experience entirely.
Layered Hearts: Create a triple-layer effect by adding a thin layer of raspberry or strawberry jam between the chocolate shell and peanut butter filling. The fruit’s acidity cuts through the richness beautifully.
Caramel Drizzle Hearts: Before sealing with the final chocolate layer, add a small spoonful of salted caramel sauce to create a multi-textured center with complex flavor development.
In Conclusion
Peanut butter chocolate hearts represent the perfect marriage of accessible ingredients and sophisticated technique. The contrast of textures—crisp shell yielding to creamy filling—creates an elevated sensory experience that belies their relatively simple ingredients list.
The key to success lies in respecting the temperature requirements for working with chocolate and taking your time with each step. While shortcuts exist, the traditional tempering method described here produces professional-quality results worth the extra effort.
Whether crafted as gifts, served as the finale to a special meal, or simply enjoyed as an indulgent treat, these hearts showcase the timeless appeal of the chocolate-peanut butter pairing. Their elegant appearance belies their accessibility—even novice confectioners can achieve impressive results by following the techniques outlined above.
The real satisfaction comes not just from eating these delectable treats, but from mastering the culinary science that transforms simple ingredients into something truly extraordinary. Each perfect heart represents a small triumph of technique, patience, and the simple joy of creating something delicous with your own hands.
FAQs About Peanut Butter Chocolate Hearts
My chocolate turned grainy and lost its shine. What happened?
A: This is called “blooming” and happens when chocolate is improperly tempered or experiences temperature fluctuations. Water droplets can also cause this—make sure all equipment is completely dry. To salvage bloomed chocolate, simply remelt and properly temper again following the temperature guidelines.
Can I use natural peanut butter, or should I stick with commercial brands?
A: Natural peanut butter works beautifully but requires adjustments. Since it’s typically less sweet and more runny than commercial varieties, you may need to add extra powdered sugar and refrigerate the filling briefly before piping. The deeper peanut flavor is worth the extra effort, though!
How far in advance can I make these for an event?
A: These hearts can be made up to two weeks ahead if stored properly in a cool, dry place. Avoid making them during extremely humid weather, as moisture can affect the chocolate’s texture and appearance. For absolute freshness, aim for 3-5 days before your event.
My filling is too stiff to pipe smoothly. How can I fix it?
A: Add heavy cream 1 teaspoon at a time, mixing thoroughly between additions, until you reach a smooth, pipeable consistency. If it becomes too soft, chill for 10-15 minutes. Remember that the filling will firm up slightly once inside the chocolate shell.
What’s the best way to gift these chocolate hearts?
A: Place each heart in a petit four paper inside a sturdy gift box lined with parchment paper. For shipping, choose insulated packaging and include cold packs if traveling to warm climates. Include a note explaining that they should be stored at cool room temperature and consumed within 2-3 weeks for best quality.

