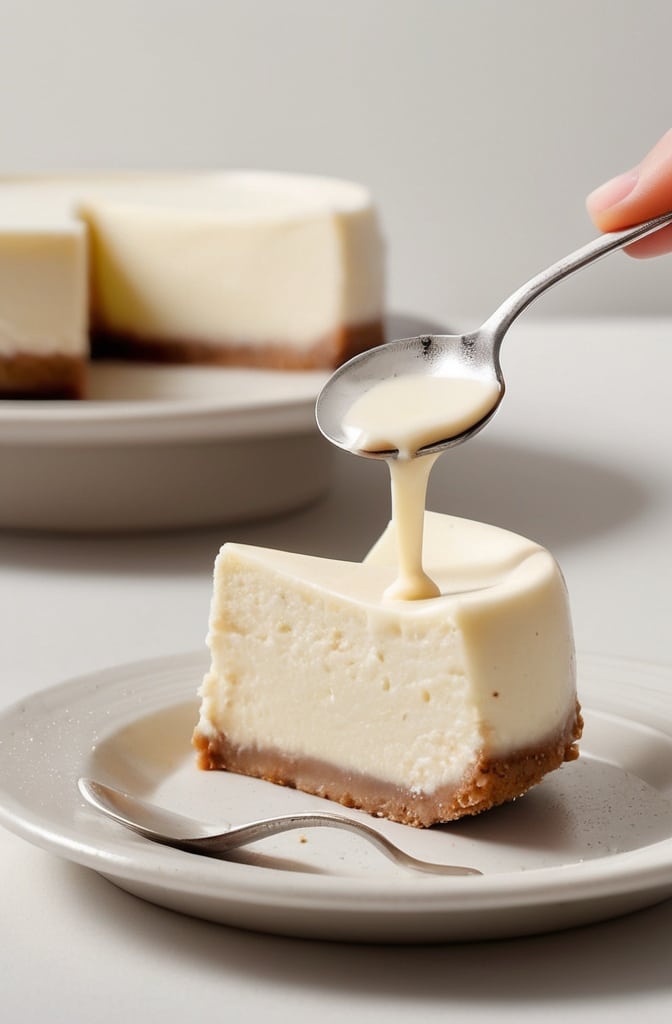
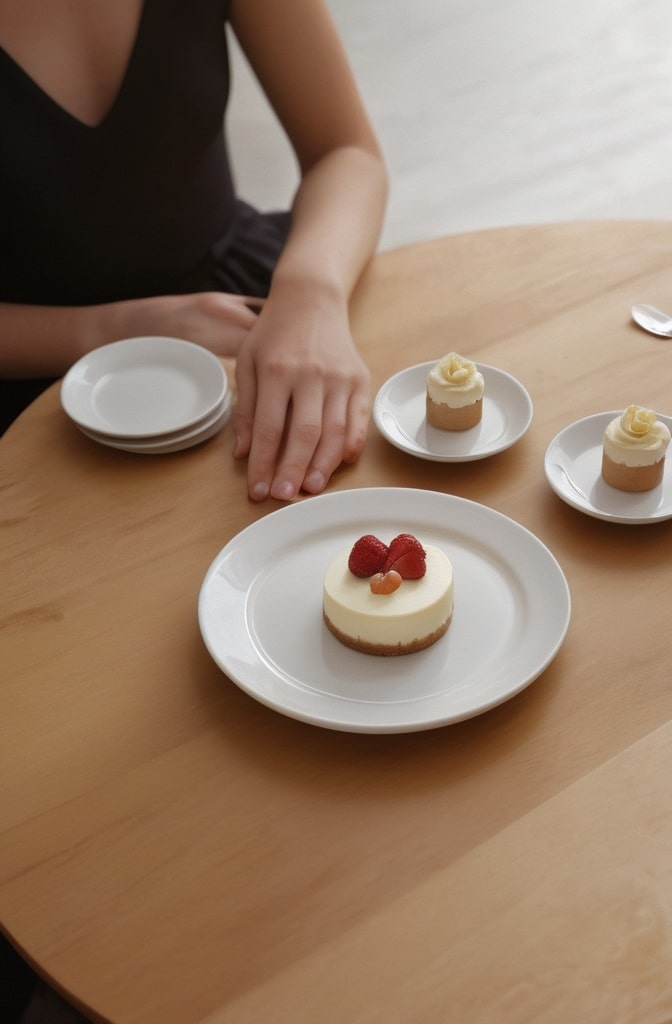
The first time I served Gluten Free Mini Cheesecakes at a high-end catering event, a guest approached me with tears in her eyes. “I haven’t had proper cheesecake in seven years,” she whispered. That moment transformed my understanding of inclusive desserts. It ain’t just about accommodating dietary restrictions it’s about ensuring everyone experiences culinary joy without compromise.
These miniature marvels represent the perfect intersection of technique and accessibility. Unlike their full-sized counterparts, mini cheesecakes offer portion control, faster baking times, and enhanced presentation opportunities. They’re also easier to modify for dietary needs without sacrificing the rich, creamy indulgence that makes cheesecake a perennial favorite.
What makes these particular mini cheesecakes special is the carefully crafted gluten-free graham crust. We’ve eliminated the gluten while preserving that distinctive honey-sweet, slightly nutty foundation that provides the perfect textural contrast to the silky cheesecake filling. The result? A professional-quality dessert that happens to be gluten-free—not a compromise, but a celebration.
Ingredients & Substitutions
For the Gluten-Free Graham Crust:
- 1½ cups gluten-free graham cracker crumbs (approximately 10-12 gluten-free graham crackers)
- ¼ cup granulated sugar
- ½ teaspoon ground cinnamon
- 6 tablespoons unsalted butter, melted
- Pinch of fine sea salt
The foundation of our crust depends entirely on your choice of gluten-free graham crackers. Kinnikinnick and Schär produce excellent options with authentic flavor profiles. In a pinch, you could substitute gluten-free gingersnaps, which add a warming spice note that complements the filling beautifully. For a nuttier profile, replace 1/4 cup of the crumbs with finely ground toasted pecans or almond flour.
Butter quality matters tremendously here. European-style butters with higher butterfat percentages create a richer, more cohesive crust. Dairy-free bakers can substitute coconut oil (use slightly less, about 5 tablespoons) or a plant-based butter alternative at a 1:1 ratio.
For the Cheesecake Filling:
- 16 ounces (2 blocks) cream cheese, room temperature
- ⅔ cup granulated sugar
- 2 large eggs, room temperature
- 1 teaspoon pure vanilla extract
- 2 tablespoons fresh lemon juice
- 2 tablespoons heavy cream
- 1 tablespoon cornstarch (ensures proper setting without gluten)
- Pinch of fine sea salt
Temperature control is absolutely critical with the cream cheese—cold cream cheese will yield lumpy batter, no matter how vigorously mixed. For a lighter texture, substitute mascarpone for half the cream cheese, tho this will require reducing the sugar by 2 tablespoons to balance the sweetness.
The cornstarch acts as our stabilizer, replacing the binding properties that gluten would typically provide in conventional recipes. In professional kitchens, we sometimes use a combination of cornstarch and tapioca starch (1:1 ratio) for an even silkier mouthfeel.
Optional Toppings:
- Fresh berries (raspberries, blueberries, strawberries)
- Berry compote
- Lemon curd
- Chocolate ganache (use gluten-free chocolate)
- Caramel sauce
- Toasted coconut flakes
- Candied citrus peel
Step-by-Step Instructions

Preparing the Crust:
- Preheat your oven to 325°F (165°C) and line a standard 12-cup muffin tin with cupcake liners. Spritz the liners lightly with cooking spray—this prevents sticking, a common issue with gluten-free crusts.
- Process gluten-free graham crackers in a food processor until finely ground, or place them in a ziplock bag and crush with a rolling pin. You want a sandy texture, not powdery; stop processing before the crumbs become too fine, which can lead to a dense, hard crust.
- In a medium bowl, combine the graham cracker crumbs, sugar, cinnamon, and salt. Pour in the melted butter and mix until the mixture resembles wet sand. The mixture should hold together when squeezed in your palm—if it seems dry, add an additional tablespoon of melted butter.
- Divide the crust mixture evenly among the prepared muffin cups (about 1½ tablespoons per cup). Using the bottom of a shot glass or espresso tamper, press the mixture firmly into the bottom of each cup. The most common mistake here is under-compacting the crust, which leads to crumbling when served.
- Bake the crusts for 5-7 minutes until they become fragrant and slightly golden at the edges. Don’t overbake—gluten-free crusts can become bitter when burnt. Cool completely on a wire rack while preparing the filling.
Creating the Filling:
- Reduce oven temperature to 300°F (150°C). Lower temperatures create a more gradual cooking environment, reducing the risk of cracks and promoting even setting.
- In the bowl of a stand mixer fitted with the paddle attachment (not the whisk—we want to minimize air incorporation), beat the cream cheese on medium-low speed until completely smooth, about 2 minutes. Scrape down the sides and bottom of the bowl several times during this process. Any lingering lumps now will be impossible to remove later.
- Add the sugar gradually while mixing on low speed, then increase to medium and beat until incorporated, about 1 minute. The mixture should look silky and slightly fluffy, but not aerated.
- In a separate bowl, whisk together eggs, vanilla extract, lemon juice, and heavy cream. With the mixer on low, slowly pour this liquid mixture into the cream cheese. Mixing on low is crucial—high speeds incorporate air, which leads to cracks during baking.
- Add the cornstarch and salt, mixing just until combined. Overmixing at this stage develops gluten-like proteins in the eggs, resulting in a rubbery texture.
- Divide the filling evenly among the prepared crusts, filling each cup about 3/4 full. A mechanical ice cream scoop with a trigger release ensures perfect portioning.
Baking and Cooling:
- Create a modified water bath by placing a large, shallow pan filled with 1 inch of hot water on the bottom rack of the oven. Position the muffin tin on the middle rack above it. This creates a humid environment without the risk of water seeping into the mini cheesecakes.
- Bake for 15-18 minutes, or until the edges are set but the centers still have a slight jiggle. The cheesecakes will continue cooking from residual heat after removal from the oven.
- Turn off the oven, crack the door open about 1 inch, and let the cheesecakes cool in the oven for 10 minutes. This gradual temperature decrease prevents sharp contractions that cause cracks.
- Remove from the oven and cool completely at room temperature before refrigerating. Chill for at least 4 hours, preferably overnight, for optimal flavor development and texture stabilization.
Cooking Techniques & Science
The success of gluten-free cheesecakes hinges on understanding several key scientific principles. First, let’s address the crust structure. Traditional graham crusts rely partially on gluten development for binding. In our gluten-free version, we compensate with slightly more fat (butter) and a careful balance of pressure during compacting.
During baking, the melted butter coats the gluten-free crumbs, creating bonds that harden upon cooling. This process, called lipid bridging, is essential for structural integrity. Professional pastry chefs often enhance this process by chilling the formed crusts for 10 minutes before baking, allowing the butter to firm up slightly.
The cheesecake filling relies on a delicate protein structure. As eggs heat, their proteins denature and coagulate, creating a network that traps fat molecules from the cream cheese. This is why temperature control is so critical—beat too much air into the batter, and these proteins will overstretch during baking, only to collapse during cooling, causing cracks.

The cornstarch serves a dual purpose. First, it absorbs excess moisture that might otherwise make the filling runny. Second, when heated, cornstarch granules swell and form a gel-like network that provides additional structure, essentially mimicking some of gluten’s binding properties.
Our modified water bath technique creates humidity in the oven, slowing the rate at which the exterior of the cheesecakes cook. This prevents the surface from setting too quickly while the interior remains liquid—the primary cause of cracks and sinking centers in cheesecakes.
Serving & Pairing Suggestions
Mini cheesecakes offer unparalleled presentation flexibility. For elegant plating, place a mini cheesecake slightly off-center on a white rectangular plate. Create a deliberate smear of berry compote alongside it, and position three fresh raspberries at varying intervals. A light dusting of freeze-dried raspberry powder adds color contrast and intensifies the berry flavor.
For buffet service, consider creating a mini cheesecake bar with various toppings in small bowls. This interactive approach allows guests to customize their dessert experience while accommodating various dietary preferences.
These mini cheesecakes pair wonderfully with dessert wines. A late-harvest Riesling complements the tanginess of the cheesecake, while a Moscato d’Asti offers a light, effervescent counterpoint to the rich texture. For non-alcoholic pairings, a well-crafted coffee service featuring single-origin beans with notes of caramel or berries creates a sophisticated flavor dialogue.
Temperature is a crucial consideration for service. Remove the cheesecakes from refrigeration 15-20 minutes before serving. Cold mutes flavor compounds, while slightly below room temperature allows the full buttery richness and aromatic notes to emerge.
Conclusion
Mastering gluten-free mini cheesecakes represents more than technical skill—it demonstrates culinary inclusivity at its finest. By understanding the science behind each component and applying professional techniques, you’ve created desserts that defy the limitations typically associated with gluten-free baking.
Remember that temperature management remains your greatest ally throughout the process. From properly softened cream cheese to gradual cooling, these thermal considerations determine the final texture more than any other factor.
Should your first attempt yield less-than-perfect results, approach troubleshooting systematically. Cracks typically indicate overbeating or excessive oven temperature, while soggy crusts point to inadequate pre-baking or compression.
The beauty of these mini cheesecakes lies in their adaptability. Experiment with seasonal flavors—infuse the cream cheese mixture with lavender in spring, blackberries in summer, or maple and bourbon for autumn service. Each variation maintains the technical integrity while offering fresh flavor profiles.
FAQs About Gluten Free Mini Cheesecakes
Q: Can I make these mini cheesecakes a day ahead of an important event?
A: Absolutely—in fact, I recommend it. Cheesecakes develop deeper, more complex flavors after 24 hours of refrigeration. The extended resting period also stabilizes the texture, making them easier to unmold and garnish. Just cover them loosely with plastic wrap after they’ve completely cooled to prevent them from absorbing refrigerator odors.
Q: Why did my gluten-free crust fall apart when serving?
A: The most common culprit is insufficient compression when forming the crusts. The gluten-free graham crumbs need firm, even pressure to bond properly with the butter. Another possibility is inadequate butter content—gluten-free crumbs often require slightly more fat than their traditional counterparts. Finally, ensure you’re allowing the cheesecakes to fully chill before attempting to remove the liners.
Q: How can I prevent the tops of my mini cheesecakes from cracking?
A: Cracks typically result from four factors: overbeating (incorporating too much air), baking at too high a temperature, cooling too quickly, or overbaking. Beat the filling only until ingredients are incorporated, utilize the water bath method for humidity, cool gradually in the turned-off oven, and remember that mini cheesecakes should still have a slight jiggle in the center when removed from the oven.
Q: Can I freeze these mini cheesecakes for longer storage?
A: Yes, these freeze exceptionally well. Cool completely, then refrigerate until firm before wrapping individually in plastic wrap and placing in an airtight container. Freeze for up to 2 months. Thaw overnight in the refrigerator, then bring to just below room temperature before serving. The texture remains virtually indistinguishable from fresh—something that can’t be said for many gluten-free desserts.
Q: How do I know when the mini cheesecakes are perfectly baked?
A: Perfect doneness is indicated by set edges with a 1-inch diameter circle in the center that still jiggles slightly when the pan is gently shaken. If using an instant-read thermometer, the internal temperature should reach 150°F (65°C). Resist the urge to bake until completely set—carryover cooking will continue after removal from the oven, and overbaking results in a grainy, dry texture.

