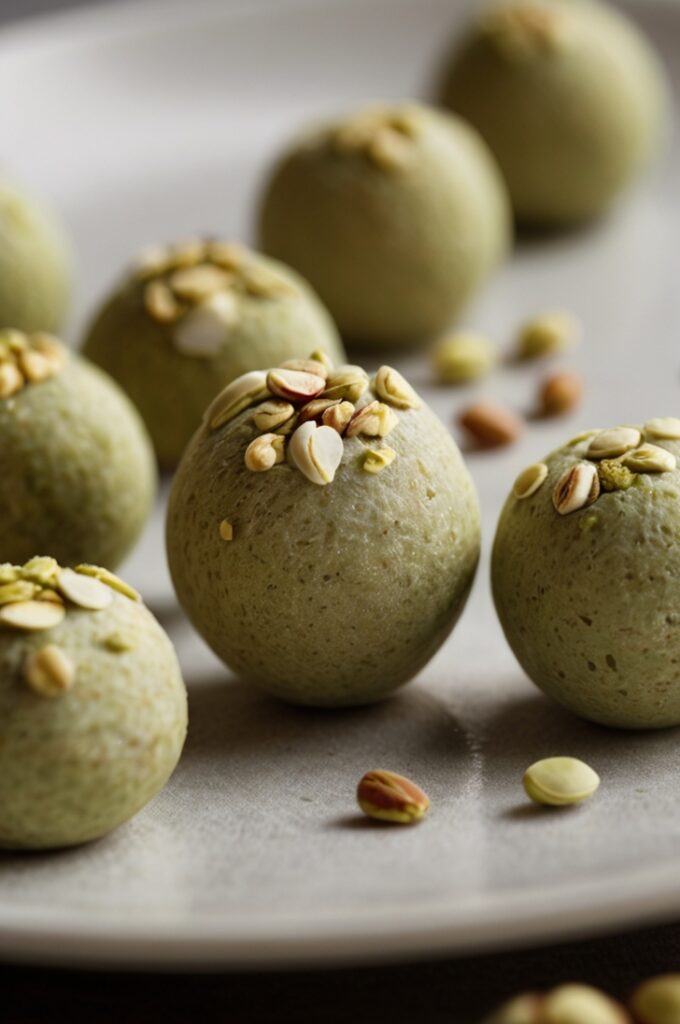
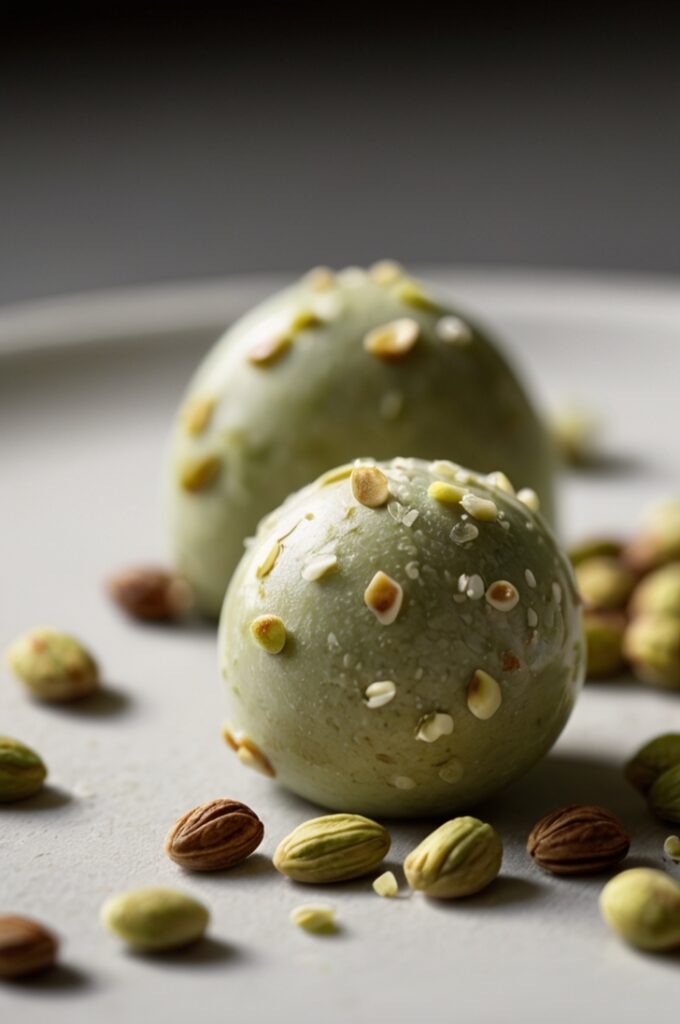
The first time I attempted pistachio bonbons, I was terrified. The glossy photos in professional confectionery books made them seem impossibly complex. Yet here I am, fifteen years later, teaching workshops on these little gems of culinary delight. Turns out, they’re actually quite approchable. The secret? Understanding a few fundamental techniques that transform simple ingredients into something extraordinary.
Pistachio bonbons represent the perfect marriage of simplicity and sophistication. These bite-sized confections feature a creamy pistachio ganache center enrobed in tempered chocolate, creating an explosion of nutty flavor with a satisfying shell. What makes this recipe special is its accessibility you don’t need specialized equipment or years of training to achieve professional results. Unlike complex pastries requiring precise timing, these bonbons are forgiving and adaptable. They’re perfect for impressing guests or packaging as heartfelt gifts.
Ingredients & Substitutions
For the Pistachio Paste
- 200g raw, unsalted pistachios (preferably Sicilian or Iranian)
- 30g granulated sugar
- 1 tablespoon neutral oil (grapeseed or refined coconut work beautifully)
- Pinch of fine sea salt
For the Ganache Filling
- 150g high-quality white chocolate, finely chopped
- 60ml heavy cream (36-40% fat content)
- 80g homemade pistachio paste
- 20g unsalted butter, room temperature
- 5ml pistachio extract (optional but recomended)
- Tiny pinch of matcha powder for color enhancement (optional)
For the Chocolate Shell
- 400g high-quality dark chocolate (55-65% cocoa solids), finely chopped
- Crushed pistachios for decoration
If you’re catering to dietary restrictions, the recipe offers flexibility. Can’t tolerate dairy? Coconut cream makes an excellent subtitute for heavy cream, though it will impart a slight coconut flavor. For vegans, plant-based white chocolate alternatives exist, but they behave differently during melting—reduce the cream by about 15% to maintain proper consistency. Those with nut allergies might consider sunflower seed paste instead of pistachio, though the flavor profile will shift significantly.
The quality of your pistachios makes all the diference. Sicilian pistachios, with their vibrant green color and intense flavor, are worth the splurge if you can find them. Their higher oil content produces a smoother paste. However, regular supermarket pistachios work fine—just ensure they’re unsalted and raw to maintain control over the flavor profile.
Step-by-Step Instructions

Making the Pistachio Paste
- Preheat your oven to 325°F (165°C) and spread pistachios on a baking sheet. Toast for 8-10 minutes until fragrant but not browned, stirring halfway through. Keep an eye on them—the difference between perfectly toasted and burnt is literally seconds.
- Allow the pistachios to cool slightly, then rub them between towels to remove as much skin as possible. Don’t obsess over removing every bit of skin; just get the majority off to prevent bitterness.
- Transfer the pistachios to a food processor and pulse until coarsely ground. Add sugar and continue processing until the mixture begins releasing oils. This is where many home cooks go wrong—they stop too soon. Keep processing, scraping down the sides occassionally, and gradually add the oil until the mixture transforms into a smooth, flowing paste (about 8-12 minutes total processing time).
Watch for the paste to start clinging to the sides of the processor—that’s your cue to scrape down and continue. The transformation happens quite suddenly; one minute you’ll have a grainy mess, and the next, a silky paste. If your machine gets hot, pause for a few minutes to prevent overheating, which can affect flavor.
Creating the Ganache Filling
- Place finely chopped white chocolate in a heatproof bowl. The finer you chop it, the more evenly it’ll melt. I’ve seen professionals literally shave their chocolate with a knife to create paper-thin pieces that melt instantaneously.
- Heat cream just until small bubbles form around the edges (do not boil). Pour over the chocolate and let sit undisturbed for 30 seconds to allow the chocolate to begin melting.
- Gently stir with a silicone spatula in small circles from the center outward until smooth. If some chocolate pieces remain unmelted, place the bowl over a pan of barely simmering water for a few seconds, then continue stirring.
A common mistake is stirring too vigorously, which incorporates air and creates bubbles. If your ganache splits (looks oily or grainy), warm another tablespoon of cream separately and gradually whisk it in to rescue the mixture.
- Add pistachio paste, butter, extract if using, and matcha powder (for color) while the mixture is still warm. Fold gently until completely incorporated.
- Allow the ganache to cool at room temprature for about 30 minutes, then cover with plastic wrap directly touching the surface and refrigerate for 2-3 hours until firm enough to scoop.
Forming and Coating the Bonbons
- Line a baking sheet with parchment paper. Using a melon baller or small cookie scoop (about 1 teaspoon capacity), scoop ganache into uniform balls. Work quickly—the heat from your hands will start softening the mixture.
- Roll each portion briefly between your palms to smooth. If the ganache becomes too soft, return it to the refrigerator for 15 minutes. Place the rolled centers on the prepared sheet and refrigerate for at least 30 minutes.
Most professionals work with gloves during this step. Not just for hygiene, but because the latex or nitrile creates less friction, making the rolling process smoother. Slightly damp hands also help prevent sticking.
- Meanwhile, temper the dark chocolate. This step intimidates many, but here’s the simplest method: Melt two-thirds of the chocolate over a double boiler until it reaches 115°F (46°C). Remove from heat, add remaining chocolate, and stir until temperature drops to 88-90°F (31-32°C) for dark chocolate.
- Using a dipping fork or regular fork, dip each ganache ball into the tempered chocolate. Tap the fork against the bowl’s edge to remove excess chocolate. Place on parchment paper and immediately sprinkle with crushed pistachios before the chocolate sets.
The tapping technique is crucial—three firm taps is usually sufficient. Too many and you risk exposing the ganache; too few and your coating will be unnecessarily thick. If your chocolate begins to thicken during the dipping process, briefly warm it over the double boiler for a few seconds.
- Allow bonbons to set completely at room temperature (approximately 2 hours). Don’t rush this by refrigerating, as condensation can form on the surface when returned to room temperature, resulting in “sweaty” bonbons.
Cooking Techniques & Science
The magic of bonbon-making lies in understanding emulsions and crystallization. When creating the ganache, we’re essentially forming an emulsion between the fat in the chocolate and the water in the cream. The precise temperature matters tremendously—too hot and the cocoa butter separates; too cool and proper emulsification won’t occur.
Tempering chocolate involves manipulating cocoa butter crystals to form stable beta crystals, which give the finished bonbon its characteristic snap and glossy appearance. When chocolate melts and cools without tempering, the cocoa butter forms unstable crystal structures, resulting in dull, soft, or streaky chocolate. The process we’re using—called seeding—introduces already tempered chocolate to melted chocolate, providing the “blueprint” for proper crystallization.
Many professional chocolatiers use vibrating tables to remove air bubbles from their bonbons. At home, simply tapping the sheet pan of freshly dipped bonbons against the counter several times achieves similar results. The vibration forces air bubbles to rise to the surface before the chocolate sets.
The addition of butter to our ganache serves two purposes: it improves mouthfeel by creating a silkier texture, and it stabilizes the emulsion, preventing separation. This technique is borrowed from French patisserie tradition, where butter is often added to ganaches destined for extended shelf life.
Serving & Pairing Suggestions
Pistachio bonbons are best enjoyed at room temperature, when the ganache yields most readily and flavors fully develop. A common error is serving them straight from the refrigerator, which mutes the complex flavor notes.
For an elegant dessert plate, place three bonbons alongside a small scoop of vanilla bean gelato and a drizzle of warm honey. The temperature contrast and complementary flavors create a memorable experience. Alternatively, serve with espresso—the coffee’s bitterness beautifully balances the sweet, nutty flavors of the bonbons.

These confections pair exceptionally well with dessert wines like Sauternes or a late-harvest Riesling. For a non-alcoholic pairing, try a cardamom-infused black tea. The spice notes enhance the pistachio’s natural flavor profile.
When plating these beauties, consider color contrast. The deep brown exterior against a white plate creates visual impact, while a scattering of chopped pistachios provides textural interest and hints at the flavor awaiting inside.
Storage and Shelf Life
Properly stored in an airtight container, these bonbons will maintain peak quality for up to two weeks at cool room temperature (65-68°F). Refrigeration extends this to three weeks, but always bring them to room temperature before serving.
Avoid extreme temperature fluctuations, which can cause sugar bloom (white spots on the surface). While still safe to eat, bloomed chocolate has compromised texture. If giving as gifts, include storage instructions to ensure recipients enjoy them at their best.
Professional chocolatiers often package bonbons in specialized boxes with individual compartments to prevent damage. For home presentation, cupcake liners work wonderfully as individual cradles for each bonbon.
Conclusion
Mastering pistachio bonbons represents a delightful milestone in any cook’s journey. They showcase how understanding fundamental techniques—emulsification, tempering, and flavor balancing—transforms simple ingredients into extraordinary creations. The process teaches patience and precision while providing immense creative satisfaction.
What makes these bonbons special isn’t just their elegant appearance but their accessibility. With attention to detail and the right technique, even novice confectioners can achieve results rivaling specialty chocolate shops.
Remember that chocolate work responds to environmental factors like humidity and temperature, so don’t be discouraged if your first batch isn’t perfect. Each attempt builds skill and intuition. The journey of mastering these delectable treats is as rewarding as the destination.
As a final tip, consider infusing your cream with complementary flavors like cardamom or orange zest before making the ganache. These subtle variations can create your signature version of this classic confection. The world of artisanal chocolates awaits your creative exploration!
FAQs
Why did my ganache separate or become grainy?
Ganache typically splits when the temperature is too high or when it’s agitated too vigorously. To rescue it, warm 1-2 tablespoons of cream separately, then gradually whisk it into the broken ganache until it comes back together. Always use gentle, consistent stirring motions when making ganache.
Can I make these bonbons without tempering the chocolate?
While you can use untempered chocolate, the results won’t have the professional sheen or satisfying snap. A simpler alternative is using “coating chocolate” or “compound chocolate” which contains vegetable fats instead of cocoa butter and doesn’t require tempering. However, the flavor quality is significantly compromised.
How far in advance can I make these for an event?
Pistachio bonbons can be made up to two weeks ahead and stored in an airtight container at cool room temperature. For maximum freshness, aim for 3-5 days before your event. The flavors actually improve slightly after 24-48 hours as they meld together.
My bonbons developed white spots after a few days. Are they still safe to eat?
Yes, they’re perfectly safe. Those white spots are either sugar bloom (caused by moisture) or fat bloom (caused by temperature fluctuations affecting the cocoa butter). While aesthetically affected, the taste remains unchanged. To prevent this, ensure stable storage temperatures and avoid moisture exposure.
Can I freeze these bonbons for longer storage?
While possible, freezing isn’t ideal as it can affect the texture and appearance. If necessary, wrap tightly in plastic wrap, then foil, and freeze for up to one month. Thaw completely in the refrigerator overnight, then bring to room temperature before serving. The texture may be slightly altered, but the flavor should remain intact.

