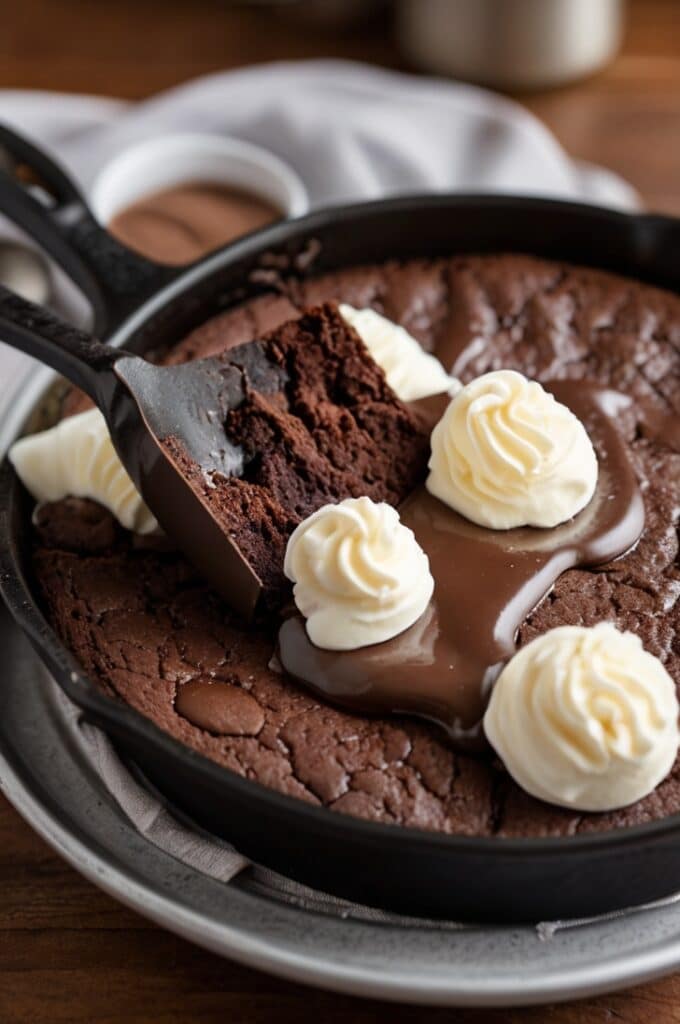
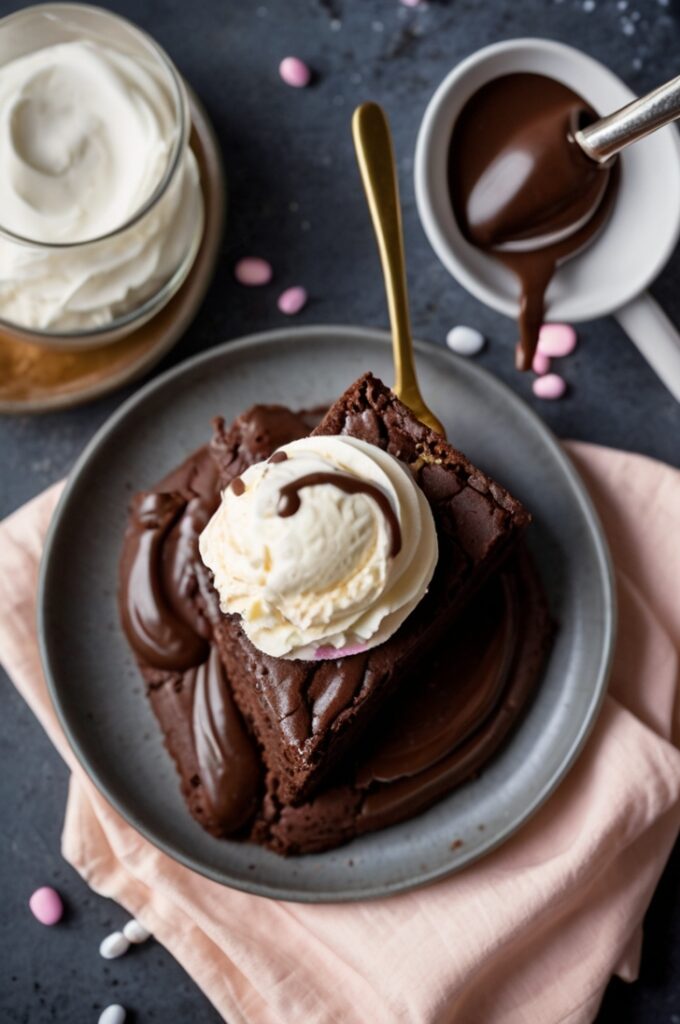
I’ll never forget the year I burned my own birthday cake. Dead serious. Set out to make this elaborate red velvet masterpiece and ended up with a lopsided, cocoa-bricked disaster. It looked like it lost a fight with the oven. That was the year I turned to the brownie skillet—and never looked back. It’s a warm, gooey slab of chocolate joy that doesn’t care if it’s pretty. It just is.
You scoop it straight from the cast iron, still bubbling, edges crisp, center molten, topped with ice cream that melts just fast enough. It’s part dessert, part experience. And on birthdays? Forget the candles. This is the fire.
Let’s talk about what makes this recipe not just a party trick, but an actual showstopper for pastry chefs, restaurateurs, and culinary rebels alike.
What Is a Birthday Brownie Skillet?
A birthday brownie skillet is a thick, gooey brownie baked in a cast iron skillet and customized for celebratory decadence. Think of it as a hybrid between a fudge brownie and a molten cake—with crispy rims, rich center, and all the bells: sprinkles, ice cream, hot fudge, you name it.
This version is chef-forward: no box mix, no shortcuts. We’re going deep on flavor. Browned butter. High-fat cocoa. Espresso salt. Stuff that makes pros swoon and guests whisper, “What is that flavor?”
Ingredients & Substitutions

For the Base Brownie:
- 170g (¾ cup) unsalted butter, browned
- 200g (1 cup) dark brown sugar, packed
- 100g (½ cup) white granulated sugar
- 2 large eggs
- 1 large egg yolk
- 2 tsp pure vanilla extract
- 80g (⅔ cup) Dutch-processed cocoa powder
- 95g (¾ cup) all-purpose flour
- ½ tsp fine sea salt
- 1 tsp instant espresso powder (enhances cocoa)
- 120g (¾ cup) bittersweet chocolate chunks (70% or higher)
- 2 tbsp rainbow sprinkles (optional, but c’mon—it’s a birthday)
Topping & Serving:
- Vanilla bean ice cream
- Hot fudge, homemade or quality store-bought
- Extra sprinkles or crushed candies
- A dash of flaky sea salt
Substitutions & Insights:
- Butter: Brown it, don’t skip that step. Adds insane depth. If dairy-free, go with vegan butter—but aim for one with high fat content. Coconut oil? Works, but lacks that nutty toasted flavor.
- Flour: Want gluten-free? Use a 1:1 gluten-free baking flour—Bob’s Red Mill or Cup4Cup. Almond flour will not hold the structure.
- Cocoa: Dutch-process cocoa gives that dark, rich punch. Don’t swap for natural cocoa unless you’re adjusting leavening (and that’s a whole science thing).
- Espresso Powder: Adds chocolate depth, doesn’t taste like coffee. You could omit, but why live dull?
- Chocolate Chunks: Not chips. Chunks melt into ribbons. Chop a good bar if you must.
Step-by-Step Instructions
1. Brown the Butter.
Start by melting butter in a saucepan over medium heat. Stir constantly until it foams, then browns, smelling nutty and divine. Pull off heat immediately—don’t let it burn. Rookie mistake.
2. Mix Sugars & Butter.
Pour browned butter into a mixing bowl. Add both sugars while hot and whisk for 2 full minutes. This dissolves the sugar partially and gives a crisp-chewy edge.
3. Whisk in Eggs.
Add eggs and yolk one at a time, whisking vigorously. This builds structure and air. Add vanilla and whisk again. Don’t rush—this step sets up the texture.
4. Sift the Dry Ingredients.
Combine flour, cocoa, salt, and espresso powder. Sift into wet mix. Fold gently. You don’t want to overmix or it turns cakey, not fudgy.
5. Add Chocolate & Sprinkles.
Toss in the chocolate chunks and sprinkles. Save some to scatter on top. Stir until just combined.
6. Pour into Skillet.
Grease a 9-inch cast iron skillet (or oven-safe skillet) with butter. Pour in batter and spread evenly. It’ll be thick—that’s what you want.
7. Bake.
Preheat oven to 175°C (350°F). Bake 22–26 minutes. Center should be set but jiggle slightly when shaken. Overbake and it’s dead. Underbake and it’s batter. You want that sweet spot.
8. Cool Slightly, Top, Serve.
Let it cool 5–10 mins. Scoop on ice cream, pour hot fudge, dust flaky salt. Serve in skillet with spoons. Birthday rules = no plates.
Common Mistakes to Dodge

- Overbaking: Watch like a hawk after 20 minutes. Cast iron keeps cooking after you pull it.
- Using chocolate chips: They’re designed not to melt. You’ll end up with weird lumps, not gooey pockets.
- Skipping the brown butter: Don’t even try it. That toasty depth is everything.
- Mixing too much: Especially after flour’s in. Fold like you’re tucking in a baby bird.
Cooking Techniques & Science
Why the Cast Iron?
It retains and distributes heat like a dream. Gives you crispy edges and a gooey center. Aluminum pans don’t stand a chance.
Brown Butter Magic
You’re triggering the Maillard reaction—milk solids toast and caramelize, adding notes of hazelnut, toffee, and “why is this so good??”
Why the Egg Yolk?
Extra fat = extra richness. Plus, it helps the brownie hold its creamy core without turning soupy.
Espresso Powder Boost
No one tastes the coffee. But it makes cocoa taste like it’s been working out. Like, gains level intensity.
Science of Fudginess
High fat, low flour, minimal air. That’s the holy trifecta. Also: no chemical leaveners. No baking powder, no soda. Just eggs doing the heavy lifting.
Serving & Pairing Suggestions
Presentation Tips:
- Serve it straight from the skillet. Rustic is charming.
- Add a birthday candle right in the middle scoop of ice cream.
- Use a drizzle bottle for your fudge, or just pour it like a rebel.
Perfect Pairings:
- Drinks: Cold brew with sweet cream foam, a tawny port, or a neat bourbon.
- Sides: Fresh berries tossed in lemon zest and sugar. Or nothing—it’s a meal on its own.
- Savory contrast: Want to go pro? Serve it after something spicy. That heat-to-sweet shift is 🔥.
Final Thoughts
This birthday brownie skillet? It’s a mood. It’s indulgent, ridiculous, and somehow nostalgic and gourmet at the same time. What makes it so special isn’t just the rich texture or the perfect crackly top—it’s how it turns an ordinary birthday into a riot of spoons and smiles.
As a chef, I love this dessert because it forgives just enough to be fun, but rewards precision if you give it love. It’s rustic, but refined. A little messy, but meticulously built.
And the best part? It’s meant to be shared. Right out of the pan. With no rules, just warmth.
Expert Tip:
Make the batter the day before, pour it into your greased skillet, cover, and chill. Bake just before serving. The cold batter and hot oven = extra contrast in texture. Trust me. It hits harder.
FAQs
1. Can I make this ahead of time?
Yes. Make the batter and chill up to 24 hours in the skillet. Bake fresh for best results.
2. What size skillet should I use?
A 9-inch cast iron is ideal. Anything bigger and your brownie will be too thin; smaller and it’ll take too long to cook through.
3. Can I use a boxed brownie mix?
Technically yes, but then you’re just making a brownie. This recipe is built for depth and birthday drama. Go from scratch—it’s worth it.
4. How do I make it nut-free?
Skip any add-ins like walnuts or hazelnuts (which some like to toss in). The base recipe is naturally nut-free.
5. Can I scale this up?
Absolutely. Double the recipe and use a 12-inch skillet. Just add 5–8 mins to the bake time, but check often.

