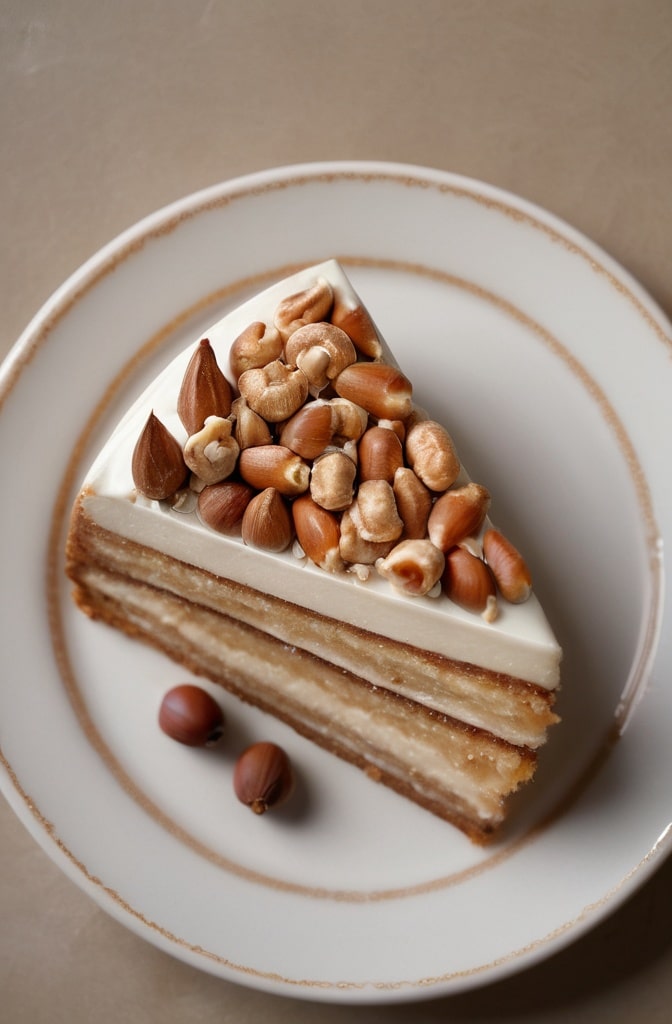
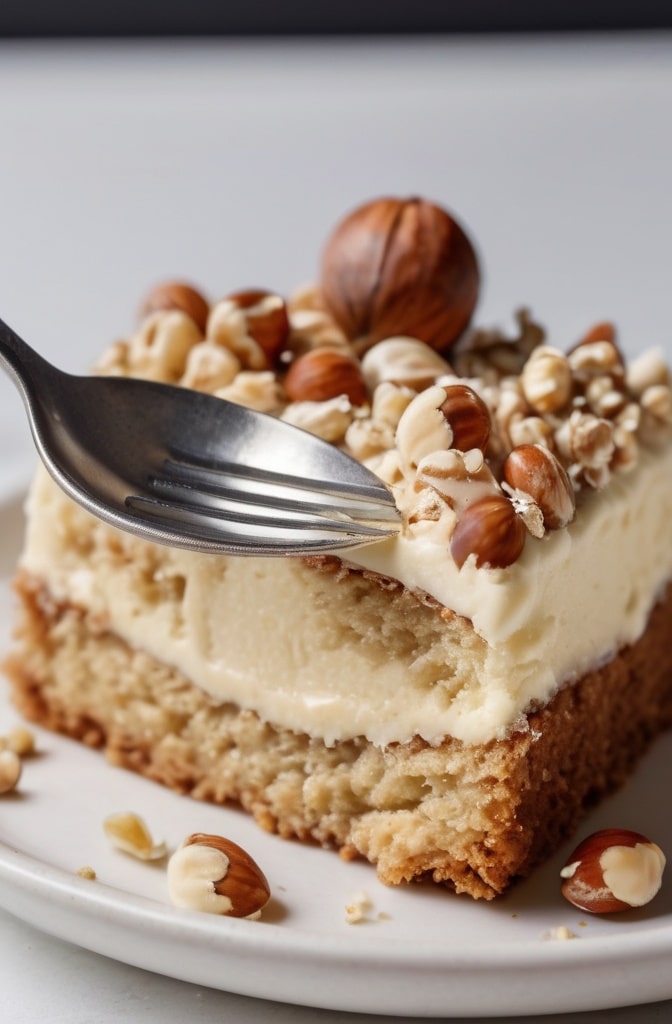
The first time I tasted an authentic Egyptian Hazelnut Cake Layers Recipe in a small bakery tucked away in Cairo’s Khan el-Khalili market, I was instantly transported. The nutty aroma mingled with honey and subtle spices created something truly magical that stayed with me for years. It’s not often you encounter a dessert that perfectly balances elegance with rustic charm, but this traditional Egyptian delicacy manages to do exactly that.
Egyptian hazelnut cake or “Tort a Bel Bon doq” as locals call it is one of those hidden gems in Middle Eastern pastry that hasn’t recived the international recognition it deserves. Unlike its more famous cousin, baklava, this layered cake offers a more subtle sweetness with distinctive hazelnut flavor that’s enhanced through traditional preparation methods dating back generations.
Ingredients & Substitutions
For the Cake Layers
- 500g hazelnuts, preferably blanched (can substitute with half almonds if needed)
- 300g caster sugar (superfine sugar gives best results, but granulated works too)
- 10 large eggs, separated and at room temperature
- 2 tbsp orange blossom water (substitute with rose water or 1 tbsp vanilla extract)
- 1 tsp ground cardamom
- ½ tsp ground cinnamon
- Pinch of salt
- Zest of 1 organic orange
- 50g all-purpose flour (can use gluten-free flour blend if needed)
For the Filling
- 400g high-quality honey (Egyptian clover honey is traditional, but any floral honey works)
- 200g unsalted butter
- 150g additional hazelnuts, roughly chopped
- 1 tsp ground cinnamon
- ¼ tsp ground cloves
- 2 tbsp orange blossom water
- Pinch of sea salt
Egyptian patissiers will tell you the quality of your hazelnuts makes all the difference. Look for nuts with tight, unblemished skins that feel heavy for their size—this indicates freshness and higher oil content. Toast them yourself rather than buying pre-roasted for that irreplacable fresh aroma that commercial products simply can’t match.
Step-by-Step Instructions

Preparing the Hazelnuts
- Preheat your oven to 180°C (350°F). Spread the hazelnuts in a single layer on a baking sheet and toast for 8-10 minutes until fragrant and skins begin to crack. Don’t walk away during this process—nuts can go from perfectley toasted to burnt in seconds!
- Transfer hot hazelnuts to a clean kitchen towel, fold over and rub vigorously to remove skins. Don’t worry if some skin remains—this adds a pleasant bitterness that balances the sweetness. Allow to cool completely.
- In a food processor, pulse the cooled hazelnuts with 100g of the sugar until finely ground but not paste-like. The mixture should resemble wet sand. Many bakers over-process here, which releases too much oil and creates a dense cake—pulse with restraint.
Making the Cake Layers
- Separate your eggs carefully, ensuring no yolk contaminates the whites. Beat the egg yolks with the remaining 200g sugar until pale and thick—when you lift the beaters, the mixture should fall in ribbons that hold their shape for several seconds. Stir in the orange blossom water, spices, and orange zest.
- Fold the ground hazelnut mixture and flour into the egg yolk mixture using a large metal spoon or spatula. Use gentle, deliberate movements to maintain air in the batter. The texture here is crucial—overfolding will deflate your batter and result in tough layers.
- In a separate clean bowl (any trace of fat will prevent proper whipping), beat egg whites with a pinch of salt until stiff peaks form. The whites should be glossy and hold their shape when the beater is lifted. Begin by folding one-third of the whites into the hazelnut mixture to lighten it, then fold in the remainder.
- Divide the batter evenly between three 20cm (8-inch) round cake pans lined with parchment paper. If you only have one or two pans, you can bake in batches—just keep the remaining batter cool but not refrigerated. Bake for 20-25 minutes until the cakes spring back when touched. A toothpick inserted in the center should come out with a few moist crumbs, not completely clean—this ensures moist layers.
- Allow to cool in the pans for 10 minutes, then turn out onto wire racks to cool completely. The layers will be quite delicate, so handle with care. Dont rush this cooling stage—assembling with warm layers will melt your filling.
Preparing the Filling
- In a heavy-bottomed saucepan, heat the honey over medium-low heat until it begins to bubble gently. Add butter and stir until completely melted and incorporated.
- Add the chopped hazelnuts, cinnamon, cloves, and salt. Simmer gently for 5-7 minutes, stirring occasionally. The mixture will thicken slightly and the nuts will toast further in the honey butter. The aroma at this stage is absolutely intoxicating—your kitchen will smell like a traditional Egyptian bakery.
- Remove from heat and stir in the orange blossom water. Allow to cool until spreadable but not completely set. If it firms up too much while cooling, gently rewarm.
Assembling the Cake
- Place one cake layer on a serving plate. Traditional Egyptian serving plates often have a slight lip to catch any honey syrup that might escape—if you dont have one, place strips of parchment under the edges of your cake to keep your serving platter clean.
- Spread one-third of the filling over the layer, allowing some to drip down the sides. This seemingly messy technique is actually intentional in the traditional preparation—the syrup should penetrate the cake slightly.
- Top with the second layer and repeat. Add the final layer and pour the remaining filling over the top, allowing it to drip decoratively down the sides. Egyptian patissiers often create decorative patterns with the dripping honey using a thin wooden skewer.
- Let the assembled cake rest for at least 2 hours, preferably overnight, to allow the flavors to meld and the filling to penetrate the layers. This resting period transforms the texture completely—almost like a different dessert from when freshly assembled.
Cooking Techniques & Science
The success of Egyptian hazelnut cake lies in several key techniques that might seem counter-intuitive to Western bakers. First, the separation of eggs and whipping of whites creates a foam structure that compensates for the minimal flour in the recipe. This technique dates back centuries in Egyptian baking, long before chemical leaveners became widely available.
The toasting of hazelnuts isn’t merely for flavor—it significantly alters their chemical composition. Heat breaks down some of the proteins and releases aromatic compounds while reducing moisture, intensifying the nut’s essential oils. Additionally, the slight caramelization of the nuts’ natural sugars creates new flavor compounds that weren’t present in the raw ingredient.
The seemingly simple honey filling actually undergoes a fascinating transformation. When heated gently with butter, the honey’s enzymes break down further, creating a more complex flavor profile. The addition of spices during heating allows their volatile oils to infuse the mixture more thoroughly than simply stirring them in afterward would achieve.
One traditional tool that makes a difference is a copper bowl for whipping egg whites. Egyptian master bakers have long favored copper because it stabilizes egg white foam by denaturin proteins more effectively. The reaction between copper ions and conalbumin (an egg white protein) strengthens the bubble structure, creating a more stable foam. If you don’t have copper, add a pinch of cream of tartar to your whites for a similar effect.
Serving & Pairing Suggestions
Egyptian hazelnut cake is traditionally served at room temperature with a small glass of mint tea. The contrast between the sweet, nutty cake and the bright, refreshing tea creates a balanced sensory experience. In more formal Egyptian settings, you might see it garnished with edible dried rose petals or a light dusting of pistachios.
For a more contemporary presentation, consider serving thin slices with a quenelle of crème fraîche slightly flavored with orange blossom water. The tanginess cuts through the sweetness beautifully. A small drizzle of additional warm honey just before serving brings the flavors to life.

Wine pairing might not be traditional in Egypt, but this cake pairs magnificently with Sauternes or other sweet dessert wines. The honeyed notes in these wines echo the cake’s flavors while providing a pleasing contrast in temperature when served chilled.
For a complete Egyptian-inspired dessert course, serve alongside fresh figs when in season, or dried figs lightly poached in spiced syrup during cooler months. A small dish of candied citrus peel makes a perfect accompaniment, echoing the orange notes in the cake.
Conclusion
Egyptian hazelnut cake represents centuries of pastry tradition distilled into layers of aromatic perfection. What makes this dessert truly special is its reflection of Egypt’s position at the crossroads of culinary influences—incorporating techniques from both Middle Eastern and Mediterranean traditions while maintaining its distinctive identity.
The balance of textures—from the tender crumb of the cake to the luxurious honey-nut filling—creates a multisensory experience that feels both rustic and refined. Unlike many Western cakes that rely on frostings for flavor, this Egyptian specialty allows each ingredient to shine through with clarity and purpose.
Master this recipe, and you’ve gained more than just a dessert—youve captured a piece of culinary heritage that connects you to generations of Egyptian bakers who have perfected this technique through centuries of tradition. The true mark of success isnt just in following the steps correctly, but in achieving that distinctive aroma that fills the kitchen and transports you straight to the spice-filled air of a Cairo marketplace.
FAQs
Can I make this cake in advance?
Absolutely! In fact, this cake improves with time as the flavors meld and the honey filling penetrates the layers. Make it 1-2 days before serving for optimal flavor development. Store at room temperature loosely covered—refrigeration tends to harden the honey filling and dry out the delicate layers.
Why did my cake layers deflate after baking?
The most common culprit is overmixing after adding the hazelnuts and flour to the egg yolk mixture. Fold gently rather than stirring, and be careful not to deflate the egg whites when incorporating them. Also, avoid opening the oven during the first 15 minutes of baking—the sudden temperature change can cause collapsing.
Can I freeze this cake?
Yes, but with some precautions. Freeze the unfilled cake layers wrapped individually in plastic wrap followed by aluminum foil for up to one month. The assembled cake can be frozen for up to two weeks, though the texture of the filling may change slightly. Thaw completely at room temperature before serving.
Is there a way to make this less sweet?
Traditional Egyptian recipes tend to be quite sweet by Western standards. You can reduce the honey in the filling by up to a quarter without affecting the texture significantly. Some bakers also add a tablespoon of freshly squeezed lemon juice to the filling, which doesn’t make it less sweet but provides acidity that balances the sweetness.
What’s the best way to cut clean slices?
Dip a sharp knife in hot water, wipe it clean, and make your cut. Repeat this process for each slice. The warm knife slides through the sticky filling more cleanly. Egyptian pastry chefs sometimes use a thread or thin wire for the cleanest cuts through layered desserts.

