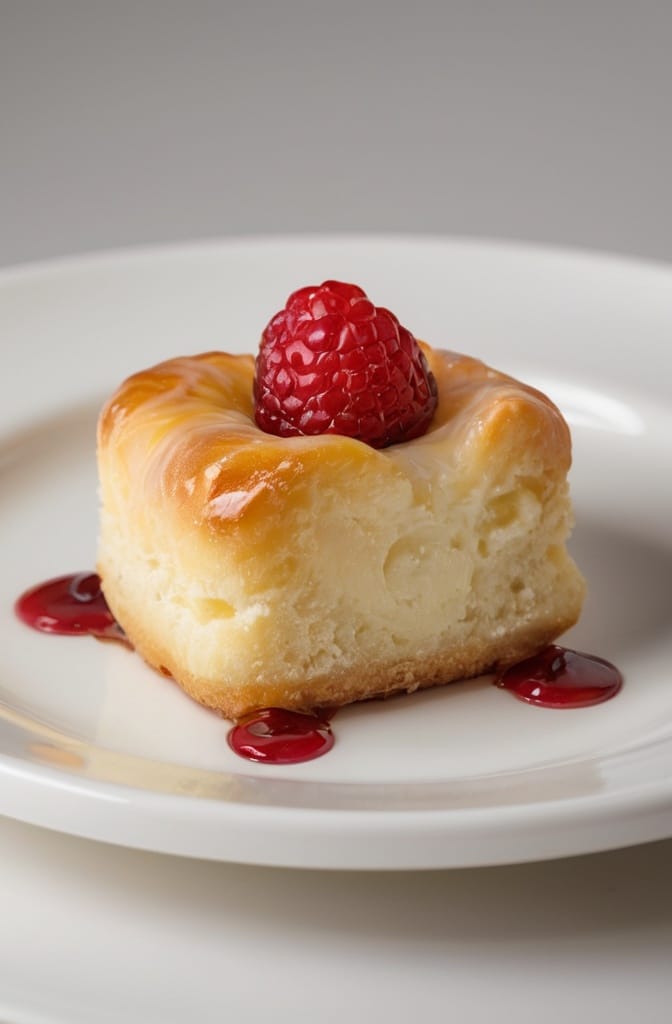
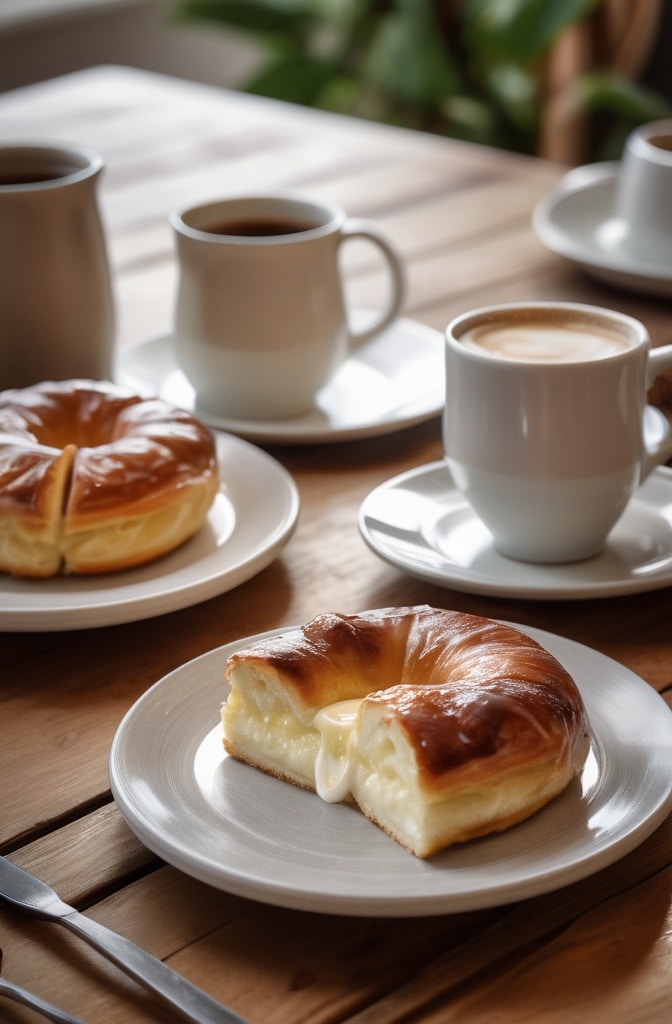
The first time I bit into a Kings Hawaiian Cheesecake Danish fresh from the oven, I was instantly transported back to my grandmother’s kitchen. That unmistakable sweet scent of vanilla and butter mingling with tangy cream cheese creates an aroma that’s practically illegal. Ever wondered how those professional bakeries achieve that perfect balance between pillowy dough and velvety cheesecake filling in a King’s Hawaiian Cheesecake Danish? I’ve spent years perfecting this recipe, and let me tell you—every minute has been worth it.
King’s Hawaiian Cheesecake Danish isn’t just another pastry. Its uniquely fluffy texture comes from a special bread-making technique that incorporates potato flour for tenderness. The result? A danish that’s airier than traditional European versions but with that distinct sweet-bread quality that made King’s Hawaiian rolls famous worldwide.
Ingredients & Substitutions
For the Hawaiian Sweet Dough:
- 4½ cups all-purpose flour (plus extra for dusting)
- ½ cup potato flour (can substitute with instant mashed potato flakes)
- ⅓ cup granulated sugar
- 2¼ teaspoons active dry yeast (1 standard packet)
- 1 teaspoon salt
- ¾ cup pineapple juice, room temperature
- ½ cup whole milk, warmed to 110°F
- 4 tablespoons unsalted butter, melted and cooled
- 2 large eggs, room temperature
- 1 teaspoon vanilla extract
For the Cheesecake Filling:
- 16 ounces cream cheese, softened (full-fat works best, but Neufchâtel can work for lighter version)
- ⅓ cup granulated sugar
- 1 large egg
- 1 tablespoon all-purpose flour
- 1 teaspoon vanilla extract
- Zest of 1 lemon (optional but reccomended)
For the Streusel Topping:
- ½ cup all-purpose flour
- ⅓ cup brown sugar, packed
- ¼ teaspoon cinnamon
- 4 tablespoons cold unsalted butter, cubed
For the Glaze:
- 1 cup powdered sugar
- 2-3 tablespoons pineapple juice or milk
- ½ teaspoon vanilla extract
If you’re looking to adapt this recipe for dietary restrictions, the potato flour can be replaced with cornstarch, though the texture won’t be identical. For a dairy-free version, coconut milk works surprisingly well in place of whole milk, and plant-based cream cheese can substitute the traditional version—though I find it needs a touch more vanilla to compensate for the flavor difference.
The quality of your cream cheese makes an enormous difference here. Philadelphia brand delivers consistent results, but any premium full-fat cream cheese will do. Avoid the whipped varieties; they contain too much air and will cause your filling to collapse during baking.
Step-by-Step Instructions

Preparing the Hawaiian Sweet Dough
- In a large mixing bowl, combine 2 cups of the all-purpose flour, potato flour, sugar, yeast, and salt. Whisk together until evenly distributed—this prevents the yeast from coming into direct contact with salt, which can kill it.
- In a separate bowl, combine the pineapple juice, warm milk, melted butter, eggs, and vanilla extract. The temperature is crucial here; too hot will kill the yeast, too cold and it won’t activate. Use a thermometer if your not confident in your ability to judge by touch.
- Gradually add the wet ingredients to the dry, stirring with a wooden spoon until combined. Then add the remaining flour ½ cup at a time until the dough becomes tacky but not sticky. You might not need all the flour—trust your hands more than the measurements here.
- Turn the dough onto a lightly floured surface and knead for about 8-10 minutes until smooth and elastic. A common mistake is under-kneading; proper gluten development is essential for that signature fluffy texture. The dough should pass the “windowpane test”—when stretched, it should become thin enough to see light through without tearing.
- Place the dough in a lightly oiled bowl, cover with plastic wrap, and let rise in a warm place for about 1 hour or until doubled in size. For an even more developed flavor, you can refrigerate the dough overnight for a slow rise.
Making the Cheesecake Filling
- While the dough rises, prepare your cheesecake filling by beating the softened cream cheese and sugar together until smooth. The cream cheese must be properly softened, otherwise you’ll end up with lumps that no amount of mixing will remove.
- Add the egg, flour, vanilla extract, and lemon zest (if using), and beat until completely smooth. Scrape down the sides of the bowl several times during mixing—thouroghness here prevents those dreaded cream cheese lumps.
- Refrigerate the filling until ready to use. This helps it firm up slightly, making it easier to work with when assembling the danish.
Assembling and Baking the Danish
- After the dough has doubled in size, punch it down gently to release air bubbles. Then divide it into two equal portions. Working with one portion at a time (keep the other covered to prevent drying), roll it out to a rectangle approximately 12×8 inches.
- Transfer the dough to a parchment-lined baking sheet. Using your fingers or the back of a spoon, create an indentation down the center of the dough, leaving about 1 inch border on all sides. This forms a “boat” shape that will cradle your filling.
- Spread half the cheesecake filling down the center of the dough in the indentation. The filling shouldn’t be more than about ¾ inch thick, or it may not set properly during baking.
- Using a sharp knife or pizza cutter, make diagonal cuts along both sides of the filling, about 1 inch apart, creating strips of dough on each side. Fold these strips over the filling, alternating from left to right, creating a braided appearance. Pinch the ends to seal.
- Repeat with the remaining dough and filling. Cover both assembled danish loaves with a clean kitchen towel and allow to rise for another 30 minutes. Meanwhile, preheat your oven to 350°F (175°C).
- Prepare the streusel topping by combining flour, brown sugar, and cinnamon in a small bowl. Cut in the cold butter using your fingers or a pastry cutter until the mixture resembles coarse crumbs. The butter should remain cold—warm butter will create a paste rather than crumbs.
- After the second rise, sprinkle the streusel evenly over both danish loaves. Bake for 25-30 minutes, rotating the pans halfway through, until golden brown and the filling is set. When properly baked, the internal temperature should reach about 190°F (88°C).
- Allow to cool on the baking sheets for 10 minutes, then transfer to a wire rack to cool completely before glazing.
Finishing Touches
- For the glaze, whisk together powdered sugar, pineapple juice or milk, and vanilla extract until smooth. Adjust consistency as needed—it should be thick enough to stay put but thin enough to drizzle.
- Once the danish has cooled to room temperature, drizzle with the glaze. For a professional look, pipe the glaze using a small plastic bag with the corner snipped off.
- Allow the glaze to set for about 15 minutes before slicing and serving. For cleanest cuts, use a serrated knife with a gentle sawing motion.
Cooking Techniques & Science
What makes King’s Hawaiian bread products so distinctive is the inclusion of potato flour and pineapple juice. Potato flour adds moisture and tenderness to bread doughs because it absorbs more water than wheat flour and retains it during baking. This creates that pillowy texture thats so characteristic of Hawaiian sweet bread.
The pineapple juice serves multiple purposes. Beyond adding a subtle tropical sweetness, its natural enzymes help break down proteins in the flour, resulting in a more tender crumb. Additionally, the acidity in the juice strengthens the gluten network while simultaneously making it more extensible—a paradoxical effect that yields the perfect balance of structure and softness.

When handling this dough, you’ll notice it’s stickier than traditional danish dough. Resist the urge to add too much additional flour during kneading. A bench scraper becomes your best friend here, helping you work with a stickier dough without incorporating excess flour that would toughen the final product.
The double rise is non-negotiable for proper texture. The first rise develops flavor through fermentation, while the second rise, after shaping, creates the airy pockets that make each bite so delightful. Rushing either rise will result in dense, heavy pastry.
For the cheesecake filling, incorporating a small amount of flour serves as an insurance policy. It helps stabilize the mixture during baking, preventing the dreaded “cheesecake crack” while ensuring the filling sets properly without becoming rubbery.
Serving & Pairing Suggestions
King’s Hawaiian Cheesecake Danish is versatile enough to shine at breakfast, brunch, or dessert. For a breakfast presentation, slice it thick and serve slightly warm alongside fresh tropical fruits like mango and pineapple to echo the Hawaiian theme.
For an elegant dessert presentation, slice thinly on the diagonal and arrange on a platter with a light dusting of powdered sugar. Add edible flowers for color if you’re feeling fancy.
Coffee pairings are crucial! A medium-roast coffee with notes of chocolate or nuts provides the perfect counterpoint to the sweet danish. For tea drinkers, a robust black tea like English Breakfast or a citrusy Earl Grey complements the tanginess of the cheesecake filling.
If serving as part of a larger brunch spread, consider balancing the sweetness with savory dishes like a spinach frittata or bacon-wrapped asparagus. The contrast makes both elements shine brighter.
For a truly decadent experience, warm individual slices slightly and top with a small scoop of vanilla bean ice cream or a dollop of lightly whipped cream infused with a touch of dark rum.
Conclusion
Mastering the King’s Hawaiian Cheesecake Danish brings together several sophisticated baking techniques—enriched dough handling, proper lamination, and balanced filling preparation. What sets this danish apart is its unique fusion of European pastry tradition with Hawaiian sweet bread innovation.
The key to success lies in patience and temperature control. Keep your ingredients at the proper temperatures, don’t rush the rises, and allow adequate cooling time before glazing. These small details elevate your danish from good to unforgettable.
Once you’ve mastered the basic recipe, don’t be afraid to experiment. Try adding macadamia nuts to the streusel for authentic Hawaiian flair, or incorporate a thin layer of pineapple preserves between the dough and cheesecake filling for an extra tropical punch.
Remember that humidity affects flour absorption, so be prepared to adjust flour quantities slightly based on your kitchen environment. Trust your hands more than the recipe—the dough should feel tacky but not stick to your fingers.
FAQs About Kings Hawaiian Cheesecake Danish
Can I make the dough ahead of time?
Absolutely! The dough actually benefits from an overnight rise in the refrigerator, which develops deeper flavor. Just punch it down after the first rise, wrap tightly in plastic, and refrigerate. Allow it to come to room temperature for about 30 minutes before shaping.
Why did my cheesecake filling leak out during baking?
This usually happens when the “walls” of your danish aren’t sealed properly or when the filling is too runny. Make sure your cream cheese is just softened, not warm, and that you’ve created adequate borders on your dough. Chilling the assembled danish for 15 minutes before baking can also help.
Can I freeze these danish?
Yes, they freeze beautifully! Freeze them unglazed after they’ve completely cooled. Wrap individual portions in plastic wrap and then foil. Thaw overnight in the refrigerator and glaze just before serving. Alternatively, freeze the shaped, unbaked danish and bake from frozen, adding about 10-15 minutes to the baking time.
How do I know when the danish is perfectly baked?
The surface should be golden brown, and if you insert a thermometer into the center of the dough (not the filling), it should read about 190°F (88°C). The filling should be set but might still have a slight jiggle in the center—it will firm up as it cools.
What’s the best way to store leftovers?
Due to the cream cheese filling, store any leftovers in the refrigerator for up to 3 days. Bring to room temperature before serving, or warm slightly in a 300°F oven for 5-7 minutes to restore that fresh-baked texture.

