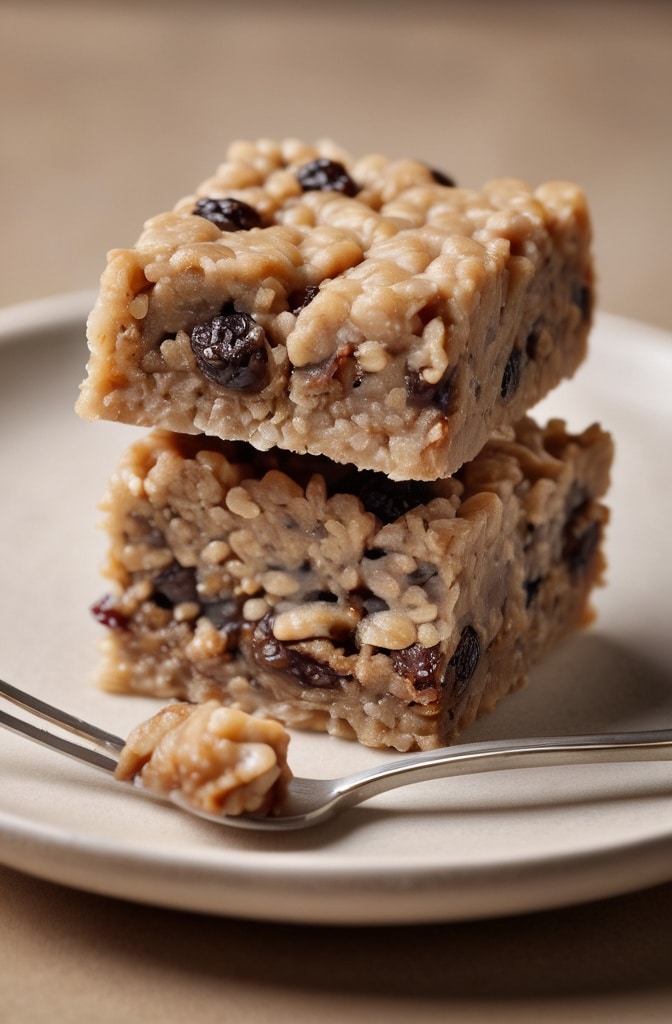
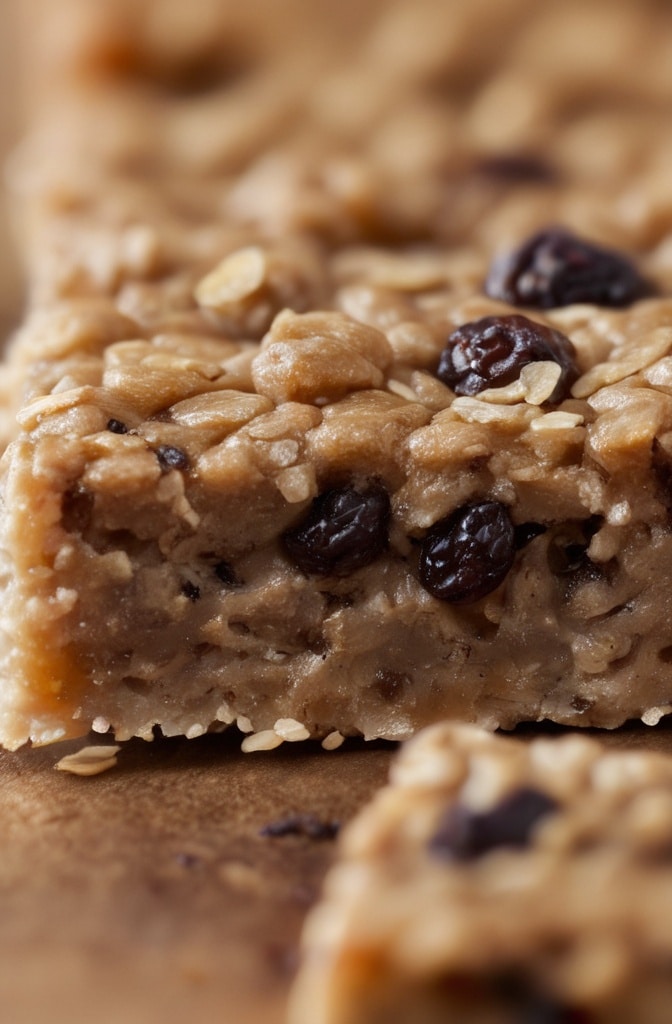
I remember the first time I baked Oatmeal Raisin Bars in my grandmother’s kitchen. The sweet aroma of cinnamon and brown sugar filled the air, creating a sense of comfort that’s stayed with me throughout my culinary career. Isn’t it amazing how certain recipes like Oatmeal Raisin Bars can transport us back to cherished moments? These humble bars might seem simple, but they represent the perfect marriage of nutrition, convenience, and indulgence.
Oatmeal raisin bars stand out from their cookie cousins by offering a more substantial texture and versatility. They’re thicker, more satisfying, and can range from breakfast-appropriate to dessert-worthy depending on how you prepare them. What makes this particular recipe special is the balance of chewy center and slightly crisp edges, combined with a technique that ensures the raisins remain plump and juicy throughout.
Ingredients & Substitutions
For the Base
- 2½ cups old-fashioned rolled oats (not quick-cooking)
- 1½ cups all-purpose flour
- 1 cup packed brown sugar (light or dark)
- 1 teaspoon baking soda
- 1 teaspoon ground cinnamon
- ½ teaspoon salt
- 1 cup unsalted butter, melted
- 2 large eggs, room temperature
- 2 teaspoons vanilla extract
For the Filling
- 1½ cups raisins
- ¼ cup orange juice or water
- ¼ cup granulated sugar
- 2 tablespoons cornstarch
- 1 teaspoon ground cinnamon
- ¼ teaspoon ground nutmeg
- ½ cup chopped walnuts or pecans (optional)
When selecting oats, old-fashioned rolled oats are crucial for these bars. Quick-cooking oats won’t provide the same hearty texture and will absob too much moisture. If your following a gluten-free diet, substitute the all-purpose flour with a 1:1 gluten-free flour blend—I’ve had excellent results with King Arthur’s measure-for-measure option.
Brown sugar brings a molasses-like complexity that white sugar simply cant match. Dark brown provides a deeper flavor, while light brown offers a more subtle sweetness. For vegans, replace butter with coconut oil (use slightly less, about ¾ cup) and substitute each egg with a flax egg (1 tablespoon ground flaxseed mixed with 3 tablespoons water).
The type of raisins matters too. Traditional dark raisins offer that classic flavor, but golden raisins provide a more subtle sweetness and prettier visual contrast. For a truly adult version, try soaking the raisins in rum or bourbon instead of orange juice.
Step-by-Step Instructions

Preparing the Raisins
- Place raisins in a small saucepan with orange juice or water. Bring to a simmer over medium heat, then remove from heat and let stand for at least 15 minutes. This rehydration step prevents the raisins from drawing moisture from the batter, ensuring they remain juicy and don’t make the surrounding areas dry.
- After soaking, drain the raisins but reserve the liquid. In the same saucepan, combine the reserved liquid with sugar, cornstarch, cinnamon, and nutmeg. Cook over medium heat, stirring constantly, until the mixture thickens (about 2-3 minutes). Fold in the drained raisins and set aside to cool slightly.
Many bakers skip the rehydration step and wonder why their raisins become hard little pebbles during baking. Take the extra time—the difference in texture is remarkable! A common mistake is overcooking the cornstarch mixture; as soon as it thickens and turns translucent, remove it from the heat to prevent it from becoming gummy.
Making the Oatmeal Base
- Preheat your oven to 350°F (175°C) and line a 9×13-inch baking pan with parchment paper, leaving overhang on the sides for easy removal. The parchment overhang functions as handles, making it infinitely easier to lift the finished bars out in one piece.
- In a large bowl, whisk together oats, flour, brown sugar, baking soda, cinnamon, and salt. In another bowl, combine melted butter, eggs, and vanilla. Pour the wet ingredients into the dry ingredients and stir until just combined. The mixture should be somewhat crumbly but hold together when pressed.
- Press two-thirds of the oat mixture firmly into the prepared pan to create an even base. Bake for 10 minutes—this pre-baking step creates a sturdier foundation and prevents the filling from making the bottom soggy.
The texture of your base mixture is critical. If it’s too dry, the bars will crumble; too wet, and they’ll become cake-like. It should resemble wet sand that clumps together when squeezed. Don’t overwork the mixture, as this activates gluten and results in tough bars.
Assembling and Baking
- Remove the pan from the oven and spread the raisin filling evenly over the pre-baked base. Crumble the remaining oat mixture over the filling, pressing lightly to adhere. If using nuts, sprinkle them on top and press gently into the surface.
- Return the pan to the oven and bake for 25-30 minutes, until the top is golden brown and set. The edges might appear slightly darker—thats a good sign of caramelization that adds flavor. Cool completely in the pan on a wire rack before cutting.
- For the cleanest cuts, refrigerate the cooled bars for about 30 minutes before slicing. Use a sharp knife, wiping the blade clean between cuts. Store in an airtight container at room temperature for up to 5 days, or freeze for up to 3 months.
A variation worth trying: add a handful of dark chocolate chips to the filling for a decadent twist. Or for a tropical version, substitute half the raisins with diced dried mango and add ¼ teaspoon of cardamom to the spice blend.
Cooking Techniques & Science
The science behind these bars is fascinating. The baking soda serves multiple purposes—it neutralizes acids in the brown sugar, provides lift, and encourages browning through the Maillard reaction. This chemical process creates those irresistible flavor compounds that make baked goods so appealing.
Melting the butter rather than creaming it with sugar creates a denser, chewier texture. When you cream butter and sugar, you incorporate air, resulting in a lighter, more cake-like structure. For bars, we want that satisfying chew, which comes from a more compact crumb structure.
The cornstarch in the filling does more than just thicken—it prevents sugar crystallization, ensuring a smooth, jammy texture rather than a gritty one. Its also why the filling remains soft rather than hardening into a candy-like consistency after cooling.

Using room temperature eggs is crucial because cold eggs can cause the melted butter to resolidify, resulting in an uneven texture. If you forget to take them out ahead of time, place them in warm (not hot) water for about 5 minutes to quickly bring them to room temperature.
A baking pan’s material affects how these bars cook. Glass pans retain heat longer and can cause over-browning on the bottom. If using glass, reduce the oven temperature by 25°F. Aluminum conducts heat more evenly, which is ideal for this recipe, but may require the upper end of the baking time range.
Serving & Pairing Suggestions
These versatile bars can be presented in numerous ways. For a casual family dessert, serve slightly warm with a scoop of vanilla ice cream or a dollop of whipped cream. The contrast of temperatures and textures creates a memorable eating experience.
For a more sophisticated presentation, cut the bars into diamond shapes rather than squares, dust lightly with powdered sugar, and serve alongside fresh berries and a drizzle of warm salted caramel sauce. The tartness of the berries balances the sweetness of the bars beautifully.
Pair these bars with beverages that complement their warm spice notes. A bold coffee highlights the cinnamon, while chai tea echoes and enhances the spice profile. For wine lovers, a late-harvest Riesling or tawny port makes an excellent accompaniment, their honeyed sweetness matching the dried fruit flavors in the bars.
These bars also make excellent gifts. Layer them in a decorative tin between sheets of parchment paper, or wrap individual bars in waxed paper and tie with twine for a rustic touch. They travel well, making them perfect for care packages or potluck contributions.
For breakfast, try crumbling a bar over Greek yogurt with a drizzle of honey. The protein from the yogurt combined with the fiber from the oats creates a satisfying and nutritious start to the day. The contrast between the cool, tangy yogurt and the sweet, spiced bar is absolutely delightful.
Conclusion
Oatmeal raisin bars represent comfort food at its finest—simple ingredients transformed through technique into something greater than the sum of their parts. What makes this recipe truly special is its balance: not too sweet, perfectly spiced, and texturally complex with its chewy center and slightly crisp top.
The keys to success lie in respecting the ingredients (rehydrating those raisins!), understanding the science (room temperature eggs, properly thickened filling), and employing proper technique (pre-baking the base, allowing for complete cooling). Master these elements, and you’ll create bars that disappear from the plate as quickly as you can serve them.
Remember that baking is both science and art. Once you’ve mastered this recipe as written, don’t be afraid to make it your own. Add different dried fruits, experiment with spice blends, or incorporate unexpected elements like a thin layer of cream cheese frosting or a drizzle of citrus glaze. The foundation remains solid, but the possibilities for personalization are endless.
FAQs About Oatmeal Raisin Bars Recipe
Can I make these bars ahead of time for a party?
Absolutely! These bars actually improve after a day, as the flavors have time to meld. They keep well at room temperature for up to 5 days in an airtight container. You can also freeze them for up to 3 months—just thaw at room temperature for about an hour before serving.
My bars turned out too crumbly. What went wrong?
This usually happens when theres too much dry ingredient or not enough binding agent. Make sure your measuring cups for dry ingredients are level, not heaped. Also, check that you’ve used the correct amount of butter and eggs, as these provide the moisture that holds everything together.
Can I reduce the sugar without affecting the texture?
You can reduce the brown sugar in the base by up to ¼ cup without significantly impacting texture. For the filling, I wouldnt recommend reducing the sugar as it contributes to the proper consistency. Instead, consider using naturally sweeter raisins like golden varieties, which might allow you to reduce the added sugar slightly.
Why did my raisin filling leak through to the bottom of the bars?
This typically happens when the base layer isn’t pre-baked long enough or packed firmly enough. Make sure to press the base mixture very firmly into the pan and don’t skip the pre-baking step, which sets the foundation before adding the wet filling.
How can I tell when the bars are fully baked?
The top should be golden brown and feel set (not soft or doughy) when lightly pressed in the center. The edges will typically develop a slightly darker color and might pull away from the sides of the pan slightly. If you notice the top browning too quickly but the center still seems underdone, tent the pan loosely with aluminum foil for the remainder of the baking time.

