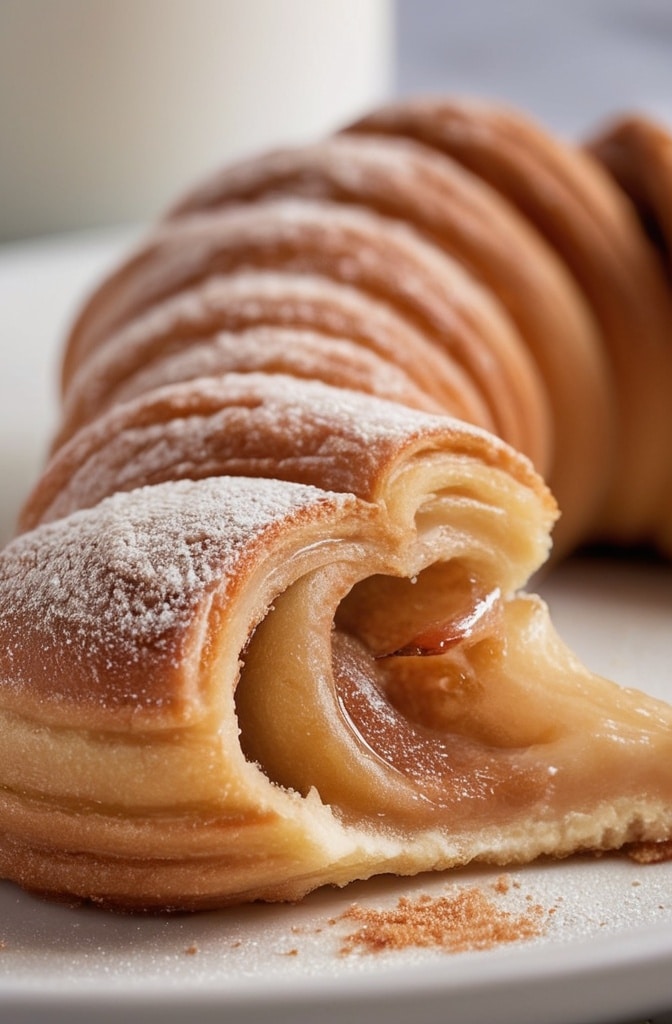
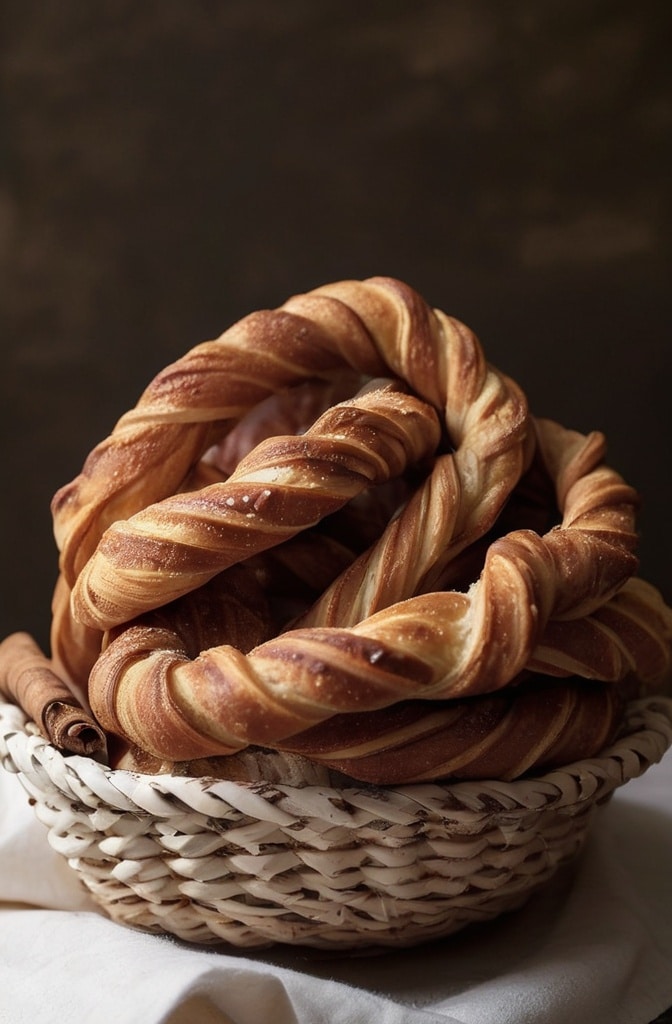
There’s something borderline magical about that first bite into a warm, freshly-baked quick easy sweet cinnamon twists. The delicate crunch giving way to soft, pillowy layers, the perfect balance of sweet and spice dancing across your tongue. I still remember my grandmother pulling a tray from her ancient oven, the scent filling her tiny kitchen as she winked and said, “The secret’s in the twist, darlin’.” She wuz right it always is.
These delectable pastries hold a special place in the world of baking because they deliver professional-quality results with surprisingly minimal effort. Unlike their cousins cinnamon rolls twists offer more texture, superior caramelization, and that satisfying pull-apart quality that creates the perfect bite every time. Plus, they’re wonderfully versatile and forgiving for bakers at any skill level.
Ingredients & Substitutions
For the Dough
- 2 cups all-purpose flour (plus extra for dusting)
- ¼ cup granulated sugar
- 1 tablespoon instant yeast
- ½ teaspoon salt
- ⅓ cup milk, warmed to 110°F
- ¼ cup unsalted butter, melted
- 1 large egg, room temperature
- 1 teaspoon vanilla extract
For the Filling
- ½ cup brown sugar (light or dark)
- 2 tablespoons ground cinnamon
- ¼ teaspoon ground nutmeg
- ¼ cup unsalted butter, softened to spreadable consistency
For the Glaze
- 1 cup powdered sugar
- 2-3 tablespoons milk or cream
- ½ teaspoon vanilla extract
- Pinch of salt
The beauty of cinnamon twists lies partly in their adaptability. Can’t have dairy? Substitute the milk with almond, oat, or coconut milk and use plant-based butter—the results remain stellar. The all-purpose flour can be swapped with bread flour for a chewier texture, tho I wouldn’t recommend using solely whole wheat flour as it tends to create a denser final product. For a more complex flavor profile, consider using dark brown sugar which contains more molasses, or adding a teaspoon of cardamom to the cinnamon mixture.
When selecting cinnamon, Saigon (Vietnamese) cinnamon delivers the most intense, spicy-sweet flavor that professional bakeries often prefer. Ceylon cinnamon offers a more delicate, floral note that pairs beautifully with the vanilla in the dough. Either way, always use fresh spices—ground cinnamon loses its potency after about six months.
Step-by-Step Instructions

Preparing the Dough
- In a large mixing bowl, combine the flour, sugar, yeast, and salt with a whisk to ensure even distribution. Many bakers skip this step and end up with uneven rising and flavor—don’t make that mistake!
- In a separate bowl, combine the warm milk (110°F—hot enough to activate yeast but not so hot it kills it), melted butter, egg, and vanilla extract. The temperature is crucial here; too cold and your yeast won’t activate, too hot and you’ll end up with flat, dense twists.
- Pour the wet ingredients into the dry ingredients and mix until a shaggy dough forms. Turn out onto a lightly floured surface and knead for 5-7 minutes until smooth and elastic. The dough should pass the “windowpane test”—when stretched between your fingers, it should thin out enough to see light through without tearing.
A common error is adding too much flour during kneading, resulting in dry twists. Your dough should be tacky but not sticky—if it’s sticking aggressively to your hands, dust with just a bit more flour. Conversely, if it feels stiff and dense, wet your hands slightly and continue kneading.
First Rise
- Place the dough in a lightly oiled bowl, cover with plastic wrap or a damp kitchen towel, and let rise in a warm spot for about 1 hour or until doubled in size. The ideal temperature for rising is between 75-85°F—cooler is fine, but will extend your rising time.
- For busy mornings, you can refrigerate the dough overnight after kneading. This slow rise actually develops more complex flavors, similar to what you’d find in artisanal bakeries. Just be sure to bring it back to room temperature before shaping.
Creating the Filling & Shaping
- While the dough rises, prepare your filling by mixing the brown sugar, cinnamon, and nutmeg in a small bowl. Set aside. The nutmeg is my secret weapon—it adds depth that cinnamon alone can’t achieve.
- Once the dough has doubled, punch it down gently to release air bubbles and transfer to a lightly floured surface. Roll it into a rectangle approximately 12×16 inches. The thickness matters—aim for about ¼ inch, as too thin will tear during twisting and too thick won’t cook through properly.
- Spread the softened butter evenly across the surface, leaving a ½-inch border along one long edge. This border helps seal the roll. Then sprinkle the cinnamon-sugar mixture evenly over the butter, pressing it gently to adhere.
- Starting from the long edge opposite your clean border, tightly roll the dough into a log. Pinch the seam to seal and position the log seam-side down. Using a sharp knife (not a serrated one, which can tear the dough), cut the log in half lengthwise, exposing the layers.
- Carefully twist the two halves together, keeping the cut sides facing upward to showcase those beautiful cinnamon layers. This is where the magic happens—the exposed layers caramelize during baking, creating those irresistible crunchy bits.
- Cut the twisted log into 8-10 equal pieces and transfer them to a parchment-lined baking sheet, leaving space between each twist for expansion.
For variation, try a chocolate version by adding mini chocolate chips to your filling. Or create a citrus twist (pun intended) by adding orange zest to both the dough and the glaze. Personally, I like adding a tablespoon of bourbon to the filling and glaze for an adult version that’s absolutely divine.
Second Rise & Baking
- Cover the shaped twists loosely and allow them to rise again for 30-45 minutes. They should look puffy but don’t need to double in size. This second rise is crucial—skipping it results in dense, less fluffy twists.
- Preheat your oven to 375°F during the final 15 minutes of rising time. Bake for 15-18 minutes until golden brown. The internal temperature should reach 190°F if your using a thermometer.
The most common mistake is overbaking. These twists go from perfect to dry in just one or two extra minutes, so watch closely after the 15-minute mark. They should be golden on top but still tender inside.
Cooking Techniques & Science
The magic of cinnamon twists comes down to several key principles of baking science. First, the yeast in the dough produces carbon dioxide gas as it feeds on sugars, creating those beautiful air pockets that give the twists their light texture. The butter in the dough provides tenderness by coating flour proteins, preventing them from forming too much gluten (which would make the pastry tough).
When shaping the twists, we cut and expose the layers intentionally. This might seem counterintuitive—aren’t we losing valuable filling? Actually, we’re creating more surface area for caramelization. The exposed sugar melts and then caramelizes, undergoing the Maillard reaction—a complex chemical process where proteins and sugars transform into hundreds of flavorful compounds. This is why properly twisted pastries have that complex, almost toasted flavor that flat pastries lack.

The double rise is crucial. The first rise allows the yeast to create air pockets throughout the dough. When we shape and twist, we redistribute those air pockets. The second rise allows the yeast to create new pockets in the shaped dough. Without it, your twists will be dense rather than fluffy.
For tools, I strongly recommend silicone baking mats over parchment if you have them—they provide more even heat distribution and prevent burning on the bottom. A bench scraper is invaluable for handling the dough without adding extra flour. And while not essential, a Danish dough whisk makes the initial mixing much easier than a standard whisk or wooden spoon.
Serving & Pairing Suggestions
Cinnamon twists are at their absolute peak when served still slightly warm, about 10-15 minutes after glazing. The contrast between the slight crunch of the exterior and the soft, tender interior is simply unmatched when fresh.
For plating, I like to arrange them on a wooden board with a small bowl of extra glaze on the side for dipping. A light dusting of powdered sugar adds a professional finish. For brunch service, consider placing a twist vertically in a shallow bowl of crème anglaise with fresh berries scattered around the base.
These twists pair beautifully with coffee—particularly a medium roast with notes of chocolate or nuts. For tea drinkers, chai or Earl Grey complements the cinnamon perfectly. In terms of alcoholic beverages, a late harvest Riesling or a cream sherry makes them sing as a dessert course.
For a complete breakfast or brunch, balance the sweetness with savory dishes like a herb-forward frittata or crispy bacon. The sweet-savory contrast elevates both components. If serving as dessert, a small scoop of vanilla bean ice cream turns them into a sophisticated deconstructed cinnamon roll à la mode.
Conclusion
Mastering these quick and easy cinnamon twists gives you access to a versatile, impressive pastry that belies its simple preparation. The key takeaways for exceptional results every time: temperature matters (for both ingredients and baking), don’t rush the rises, and embrace the exposed layers during twisting for maximum flavor development.
While the basic recipe is foolproof, the true joy comes in customization. Once you’ve mastered the technique, experiment with fillings like cardamom-orange, maple-pecan, or even savory versions with herbs and cheese for appetizers. The fundamental method remains your foundation.
Remember my grandmother’s words—”the secret’s in the twist.” That extra step of cutting and twisting transforms a good pastry into a great one, creating textural contrasts and flavor concentration that makes these humble twists worthy of any professional pastry case. Yet they remain accessible enough for a quick weekend breakfast at home. And isnt that the true measure of a perfect recipe?
FAQs About Quick Easy Sweet Cinnamon Twists
Can I make the dough ahead of time?
Absolutely! The dough can be made up to 24 hours in advance and refrigerated after the first kneading. This slow fermentation actually enhances flavor development. Just bring it to room temperature before rolling and shaping.
Why did my twists unravel during baking?
This typically happens when the dough is rolled too loosely or the cut edges aren’t positioned facing upward. Make sure to roll the dough tightly before cutting, and after twisting, place them with the cut sides facing up to showcase the layers and prevent unraveling.
Can I freeze these cinnamon twists?
Yes! Freeze them either before the second rise (unbaked) or after baking but before glazing. For unbaked twists, freeze them on a baking sheet until solid, then transfer to a freezer bag. Thaw overnight in the refrigerator, allow to rise, then bake as directed. For baked twists, thaw at room temperature and warm for 5 minutes in a 300°F oven before glazing.
My glaze is too thick/thin. How do I fix it?
The perfect glaze should coat the back of a spoon but still drip off slowly. If too thick, add milk a teaspoon at a time. If too thin, add more powdered sugar a tablespoon at a time. For a richer glaze, substitute cream cheese for part of the butter and add a bit more powdered sugar to compensate for the moisture.
Can I use puff pastry instead of making dough from scratch?
While not traditional, you can use puff pastry for a quicker (though different) version. Spread the filling over the pastry, fold in half, cut into strips, and twist. These will be flakier and less bread-like but still delicious. Reduce baking temperature to 350°F and watch carefully as puff pastry browns more quickly.

