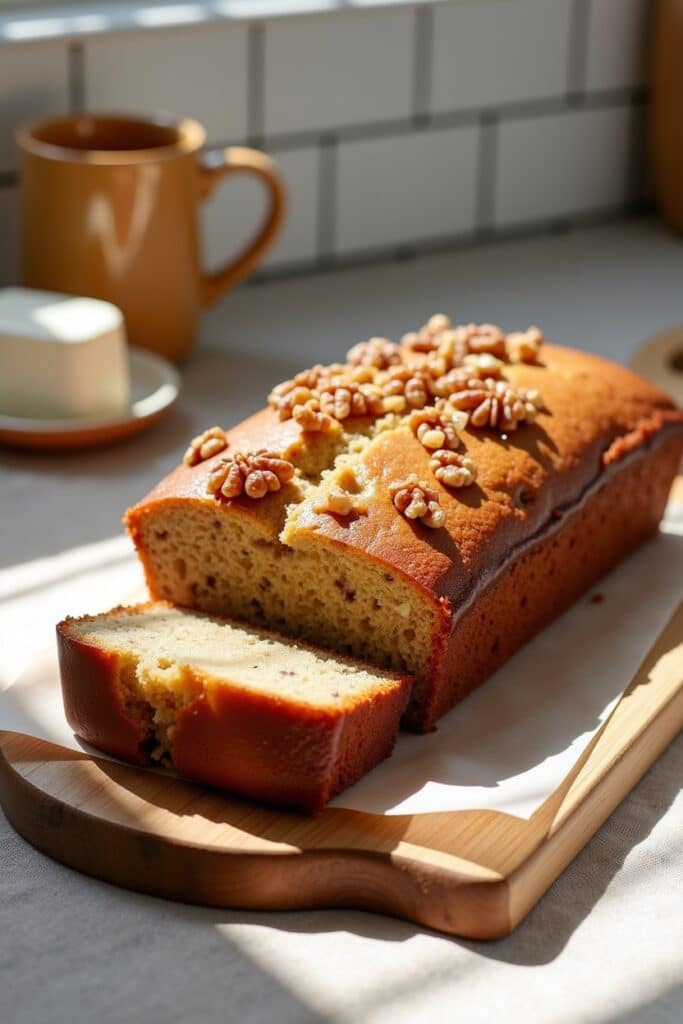
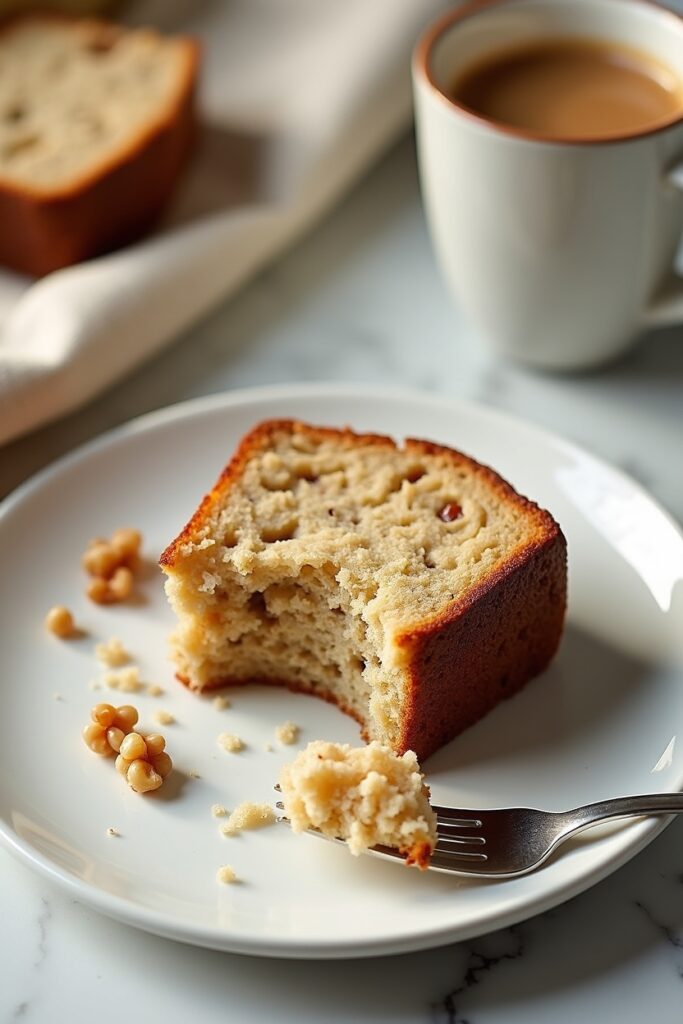
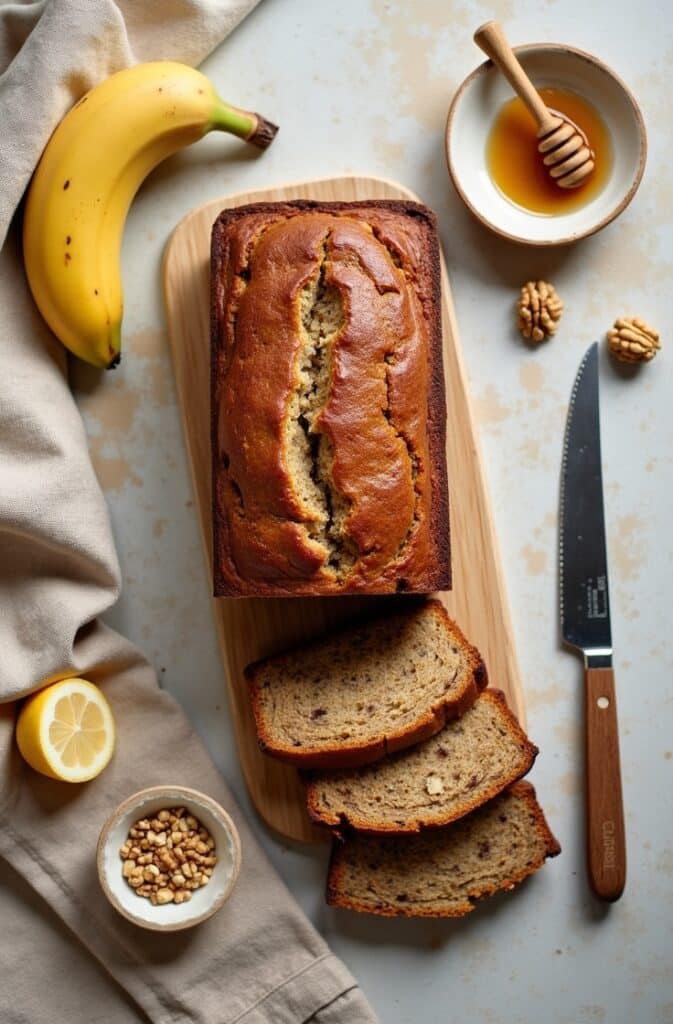
Have you ever walked into a Starbucks, intent on just grabbing your usual coffee, when that distinct aroma of sweet, warm Starbucks Banana Nut Bread stops you in your tracks? Yeah, me too. I’ve spent countless mornings staring longingly at those thick slices behind the glass moist, nutty, and perfectly golden. What if I told you that recreating this iconic Starbucks Banana Nut Bread at home isn’t just possible, but might actually produce something even better than the original?
Starbucks Banana Nut Bread has achieved near-legendary status among the chain’s food offerings. Unlike many commercial quick breads, this particular version strikes a remarkable balance between homemade charm and consistency that’s hard to achieve. It’s dense yet tender, sweet yet complex, and boasts that perfect crumb that somehow stays moist for days (if it lasts that long).
The Secret Behind Starbucks’ Success
Before diving into making our own version, let’s understand what makes the Starbucks version so irresistable. Their banana bread has achieved cult-like status for several reasons. First, they use properly ripened bananas those spotty, almost black ones that most people would toss. The ripening process converts starches to sugars, intensifying flavor and natural sweetness.

Second, their bread contains the perfect ratio of nuts (walnuts, specifically) to provide textural contrast without overwhelming the banana flavor. And finally, they’ve nailed the moisture content—never dry, never gummy. It’s this consistency across thousands of locations that keeps customers coming back.
The Starbucks version also has a subtle hint of warm spices that many home bakers miss. This isn’t just cinnamon—there’s a whisper of nutmeg that elevates the entire experience. Getting these nuances right is what turns good banana bread into great banana bread.
Ingredients & Substitutions
For the Bread:
- 2 cups all-purpose flour (250g)
- 1 teaspoon baking soda
- 1/4 teaspoon salt
- 1 teaspoon ground cinnamon
- 1/4 teaspoon ground nutmeg
- 3 extremely ripe bananas (about 1 1/2 cups mashed)
- 3/4 cup granulated sugar (150g)
- 1/2 cup light brown sugar, packed (100g)
- 2 large eggs, room temperature
- 1/2 cup unsalted butter, melted and slightly cooled (115g)
- 1 teaspoon pure vanilla extract
- 1/3 cup buttermilk (80ml)
- 1 cup chopped walnuts (120g), plus extra for topping
Ingredient Notes:
For those seeking a healthier version, you can substitute whole wheat flour for half the all-purpose flour, though expect a slightly denser texture. The nuttiness of whole wheat actually complements the banana flavor beautifully. Just add an extra tablespoon of buttermilk to compensate for the thirstier flour.
Don’t have buttermilk? No worries. Add 1 teaspoon of lemon juice or white vinegar to regular milk and let it stand for 5 minutes. The slight acidity helps activate the baking soda and creates that tender crumb we’re after.
If you’re nut-allergic, pepitas (pumpkin seeds) or sunflower seeds can provide similar textural contrast. For a completely nut-free version, consider adding 1/2 cup of chocolate chips instead—not authentic Starbucks, but delicious nonetheless.
The bananas should be properly overripe—I’m talking deep brown or even black skins. This is non-negotiable if you want that intense banana flavor. In a pinch, you can speed-ripen bananas by baking them in their skins at 300°F for about 15-20 minutes until blackened.
Step-by-Step Instructions

Preparation
- Preheat your oven to 325°F (165°C). This lower temperature ensures even baking without burning the edges. Line a 9×5 inch loaf pan with parchment paper, leaving an overhang on the sides for easy removal. The parchment is crucial here—even “non-stick” pans can cling to this moist bread.
- In a medium bowl, whisk together the flour, baking soda, salt, cinnamon, and nutmeg. Many home bakers skip sifting these ingredients, but spending 30 seconds to remove lumps will result in a more uniform crumb. Trust me on this one.
- In a separate large bowl, mash the bananas until smooth but with a few small chunks remaining. The small chunks provide those delightful pockets of intense banana flavor that make each bite interesting. Don’t pulverize the bananas into complete smoothness—that’s a common misstake.
Making the Batter
- Add both sugars to the mashed bananas and mix until well incorporated. The combination of white and brown sugars isn’t just about sweetness; the molasses in brown sugar adds depth and helps with moisture retention. Stir vigorously until the mixture lightens in color slightly.
- Beat in the eggs one at a time, then add the melted butter and vanilla. The order matters here—adding eggs before butter prevents the hot butter from cooking the eggs. Your mixture should look slightly curdled at this point, which is perfectly fine.
- Gently fold in the dry ingredients in three additions, alternating with the buttermilk. Stop mixing as soon as the flour disappears—overmixing develops gluten, leading to tough bread. A few small lumps are actually preferable to overmixed batter.
- Fold in 3/4 cup of the chopped walnuts, saving the rest for topping. Coating the nuts in a teaspoon of flour before adding them helps prevent sinking, especially if your using larger pieces.
Baking
- Pour the batter into the prepared loaf pan and smooth the top with a spatula. Sprinkle the remaining walnuts over the surface, gently pressing them into the batter so they adhere during baking but remain visible.
- Bake for 60-70 minutes, or until a toothpick inserted into the center comes out clean with a few moist crumbs. If the top is browning too quickly, tent with aluminum foil after about 45 minutes. Patience is essential here—underbaking results in a gummy center, while overbaking dries out the edges.
- Allow the bread to cool in the pan for 15 minutes before transferring to a wire rack to cool completely. This resting period allows the structure to set and makes slicing cleaner. Resist the urge to cut into it immediately—the texture improves as it cools.
The Science Behind Perfect Banana Bread
Understanding a few key principles elevates your banana bread from good to exceptional. First, melted butter rather than creamed butter creates a denser, moister texture. While many quick breads use oil, butter provides superior flavor that complements the walnut’s richness.
The reaction between the acidic buttermilk and baking soda produces carbon dioxide bubbles that help the bread rise. This chemical leavening is gentler than using baking powder alone, resulting in a tender crumb structure rather than a cakey one. The buttermilk also breaks down the gluten, contributing to that melt-in-your-mouth quality.
Why not mix all wet ingredients together at once? The emulsification process. By creaming bananas with sugar first, you’re creating tiny air pockets that contribute to a lighter texture. This step is often rushed or skipped entirely, but it makes a noticeable difference in the final product.
The cinnamon and nutmeg aren’t just flavor enhancers—these aromatic compounds are fat-soluble, meaning they bloom in the butter and create a more complex flavor profile. Blooming spices in fat is a technique professional bakers use to extract maximum impact from minimal quantities.
Serving & Pairing Suggestions
Starbucks serves their banana bread slightly warmed, which reactivates the aromatic compounds and gives the impression of freshness. At home, a 10-second microwave zap or 3 minutes in a 300°F oven achieves the same effect. The nuts become more fragrant and the slice feels almost freshly baked.
For the full coffeehouse experience, pair this bread with a medium-roast coffee with caramel or nutty undertones. The slight bitterness of coffee balances the bread’s sweetness beautifully. My personal favorite is a flat white—the microfoam melds with the bread’s texture in a way that’s simply divine.
For breakfast, serve thick-cut slices with a smear of mascarpone or cream cheese. The tanginess cuts through the sweetness and creates a more substantial meal. For dessert, try warming a slice and topping it with a scoop of vanilla bean ice cream and a drizzle of caramel sauce—coffeehouse sophistication meets homestyle comfort.
Consider this bread for gifting, too. Miniature loaves bake in about 25-30 minutes and make thoughtful homemade presents. Wrap in parchment, tie with twine, and attach brewing instructions for the perfect coffee pairing. Who needs a $5 gift card when you can give the actual Starbucks experience?
Storage & Freshness Tips
Unlike store-bought versions with preservatives, homemade banana bread’s peak freshness window is shorter. To maximize shelf life, wrap completely cooled bread in plastic wrap, then aluminum foil, and store at room temperature for up to 4 days. The double-wrapping prevents moisture loss while protecting from air exposure.

For longer storage, this bread freezes beautifully. Slice before freezing for convenience individual slices thaw in minutes when needed. Frozen properly, quality remains excellent for up to 3 months. Always thaw at room temperature while still wrapped to prevent condensation from making the bread soggy.
The flavor actually improves on day two as the banana notes deepen and meld with the spices. Many bakers deliberately make this bread a day ahead for this reason. If the crust softens too much during storage, five minutes in a 300°F oven will restore its slight crispness.
Conclusion
Creating Starbucks-worthy banana nut bread at home isnt just possible—with attention to detail, yours might even surpass the original. The key lies in respecting the ingredients: properly ripened bananas, quality nuts, and the patience to follow the process without cutting corners.
What makes this recipe special isn’t any secret ingredient, but rather the balance of complementary flavors and textures. The moist, dense crumb against crunchy walnuts. The sweet banana enhanced by warm spices. The buttery richness cut with slight tanginess from buttermilk. These counterpoints create complexity that keeps you coming back for “just one more slice.”
Remember that great banana bread, like all worthwhile culinary endeavors, rewards mindfulness. Pay attention to the look, feel, and smell of your batter. Adjust baking time based on your oven’s personality. Make notes about what worked and what didn’t. In this way, you’ll develop not just a recipe, but a relationship with this beloved classic.
FAQs About Starbucks Banana Nut Bread
My banana bread sinks in the middle after baking. What went wrong?
This usually happens when there’s too much leavening agent or the bread is underbaked. Check that your baking soda is fresh (replace every 6 months), and ensure the center tests done with a toothpick before removing from the oven. Another culprit could be opening the oven door too early in the baking process, which causes rapid temperature changes.
Can I reduce the sugar without affecting texture?
You can reduce the total sugar by about 25% without dramatically changing the texture, though it will affect shelf life and browning. I wouldn’t recommend going below 3/4 cup total sugar, as it contributes to the bread’s moisture and tender structure. Using very ripe bananas naturally allows for less added sugar.
Why does my banana bread turn out dense and gummy?
This typically results from overmixing the batter (developing too much gluten) or using too much banana. Measure carefully and remember that folding ingredients gently just until combined preserves the air bubbles necessary for proper rising. Also, ensure your bread is fully baked—even five minutes of underbaking can result in a gummy center.
How can I get that signature crackly top like Starbucks?
The crackly top comes from proper sugar incorporation and the right oven temperature. Make sure you’re creaming the banana and sugar well at the beginning, and consider sprinkling a tablespoon of granulated sugar over the top of the batter just before baking. Also, baking at 325°F rather than 350°F allows the top to form more gradually.
Can I make this recipe into muffins instead of a loaf?
Absolutely! The same batter works beautifully as muffins. Fill lined muffin cups about 3/4 full and bake at 350°F for approximately 18-22 minutes. This higher temperature works better for muffins due to their smaller size and creates a nicer dome. You’ll get about 12-14 standard-sized muffins from this recipe.

